Birthday celebrations. What kid doesn’t LOVE cake, ice cream, and new toys?! Not to mention a party specifically tailored to THEM!!
We recently celebrated my son’s 1st birthday. I wanted to share some simple, budget friendly decoration ideas that I utilized for his party!
Who loves a good bargain? Me! I also have always loved crafts and creating simple decorations on the cheap. So, I knew I wanted to make most of the decorations for my son’s first birthday even though there is a TON of stuff out there to buy. I felt like making my own would keep it cheaper, and a little more personal and special :).
Do You Need A Theme?
I didn’t necessarily go into this thinking I had a specific theme for his party. But I knew I wanted to keep it simple, and budget friendly with a fairly neutral color palette. I am always big on “shopping your home” for styling and decorating. This concept worked to create what I would now probably call a ‘Woodland Theme’ party!

First
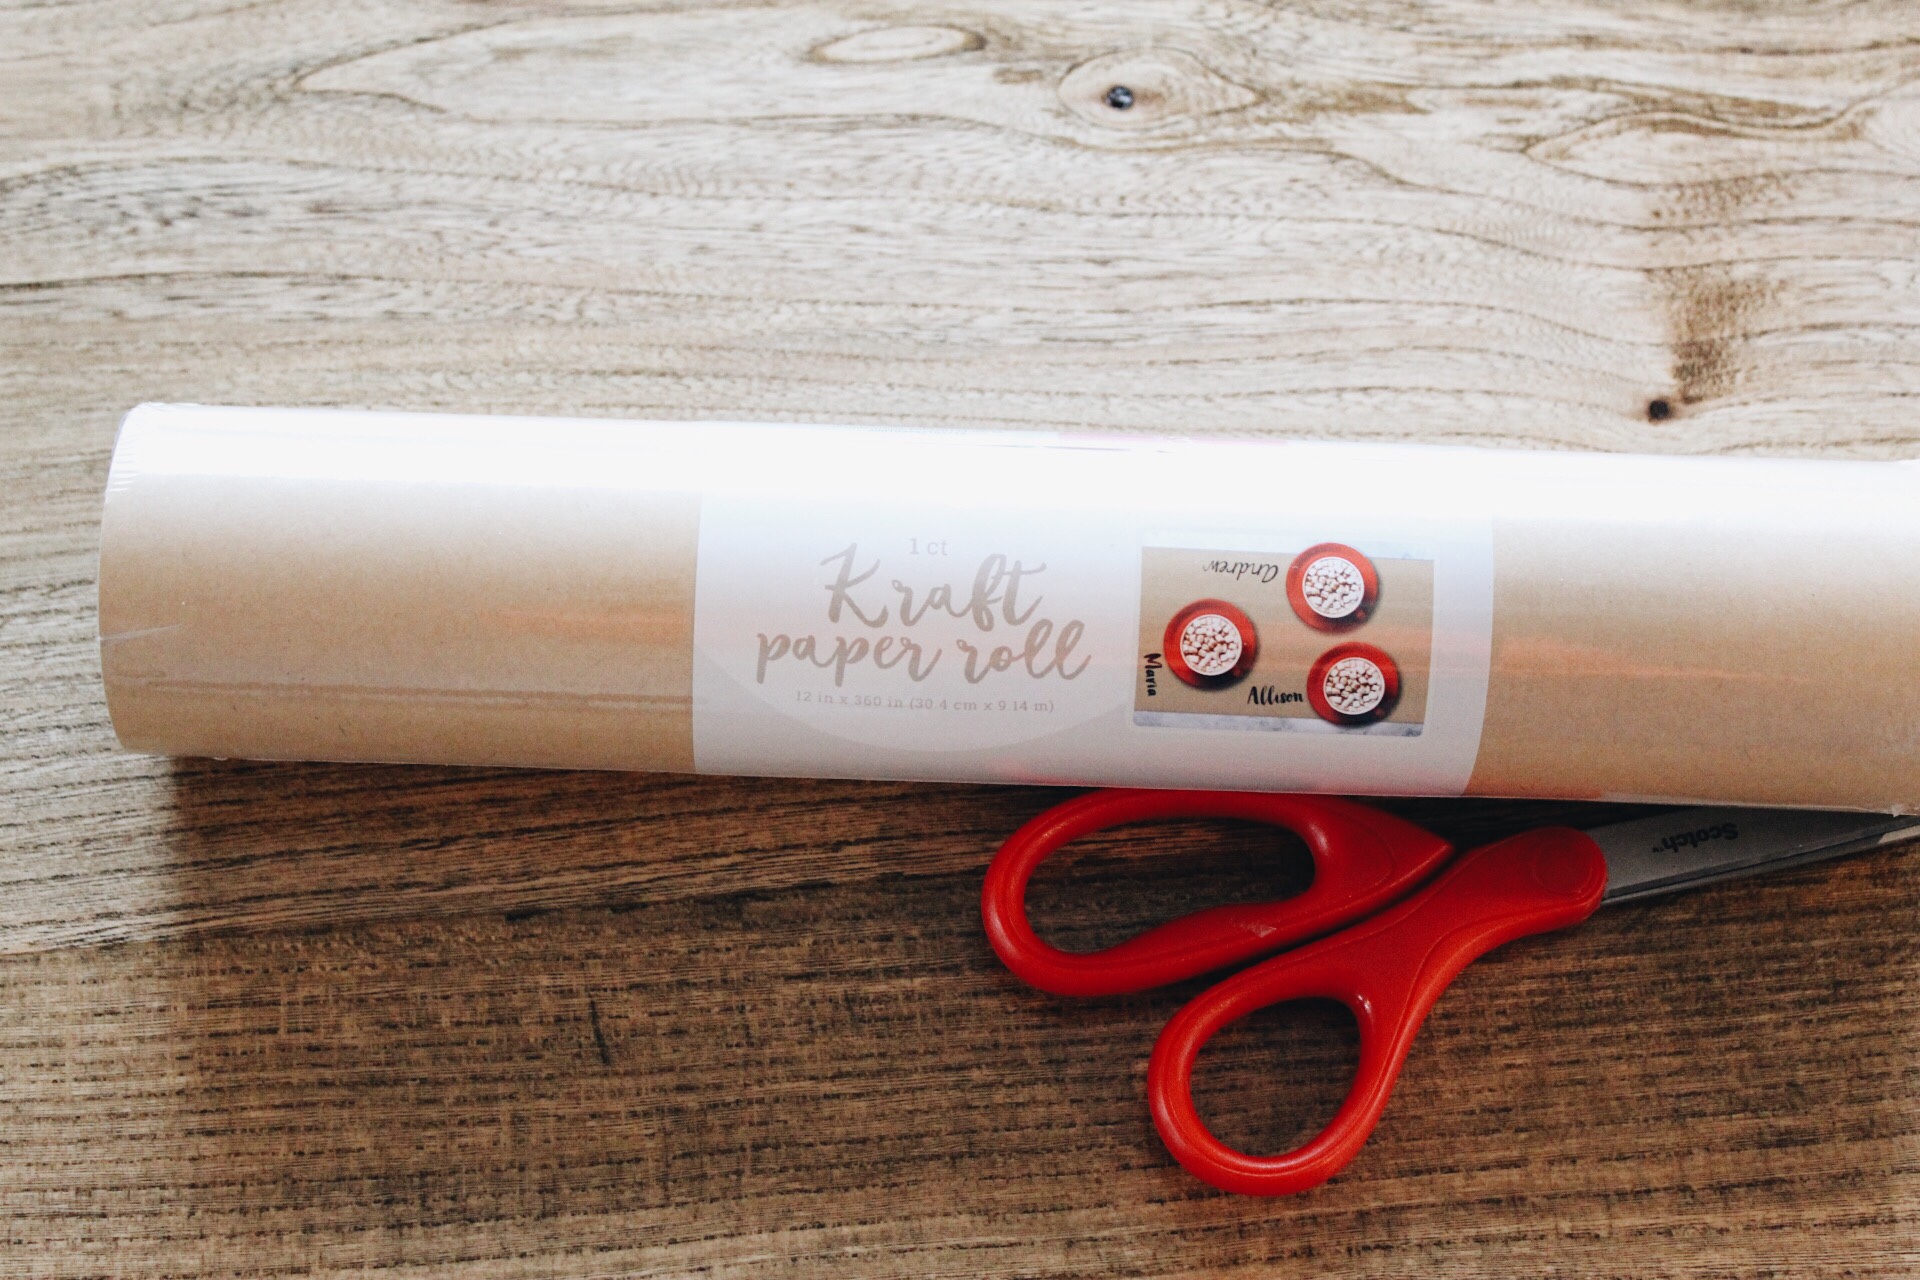
Let’s start with a super inexpensive idea you can also utilize for your child’s party. I bought this kraft paper roll in the dollar section at Target. I’m sure there are many other places you can purchase this handy paper.
Next
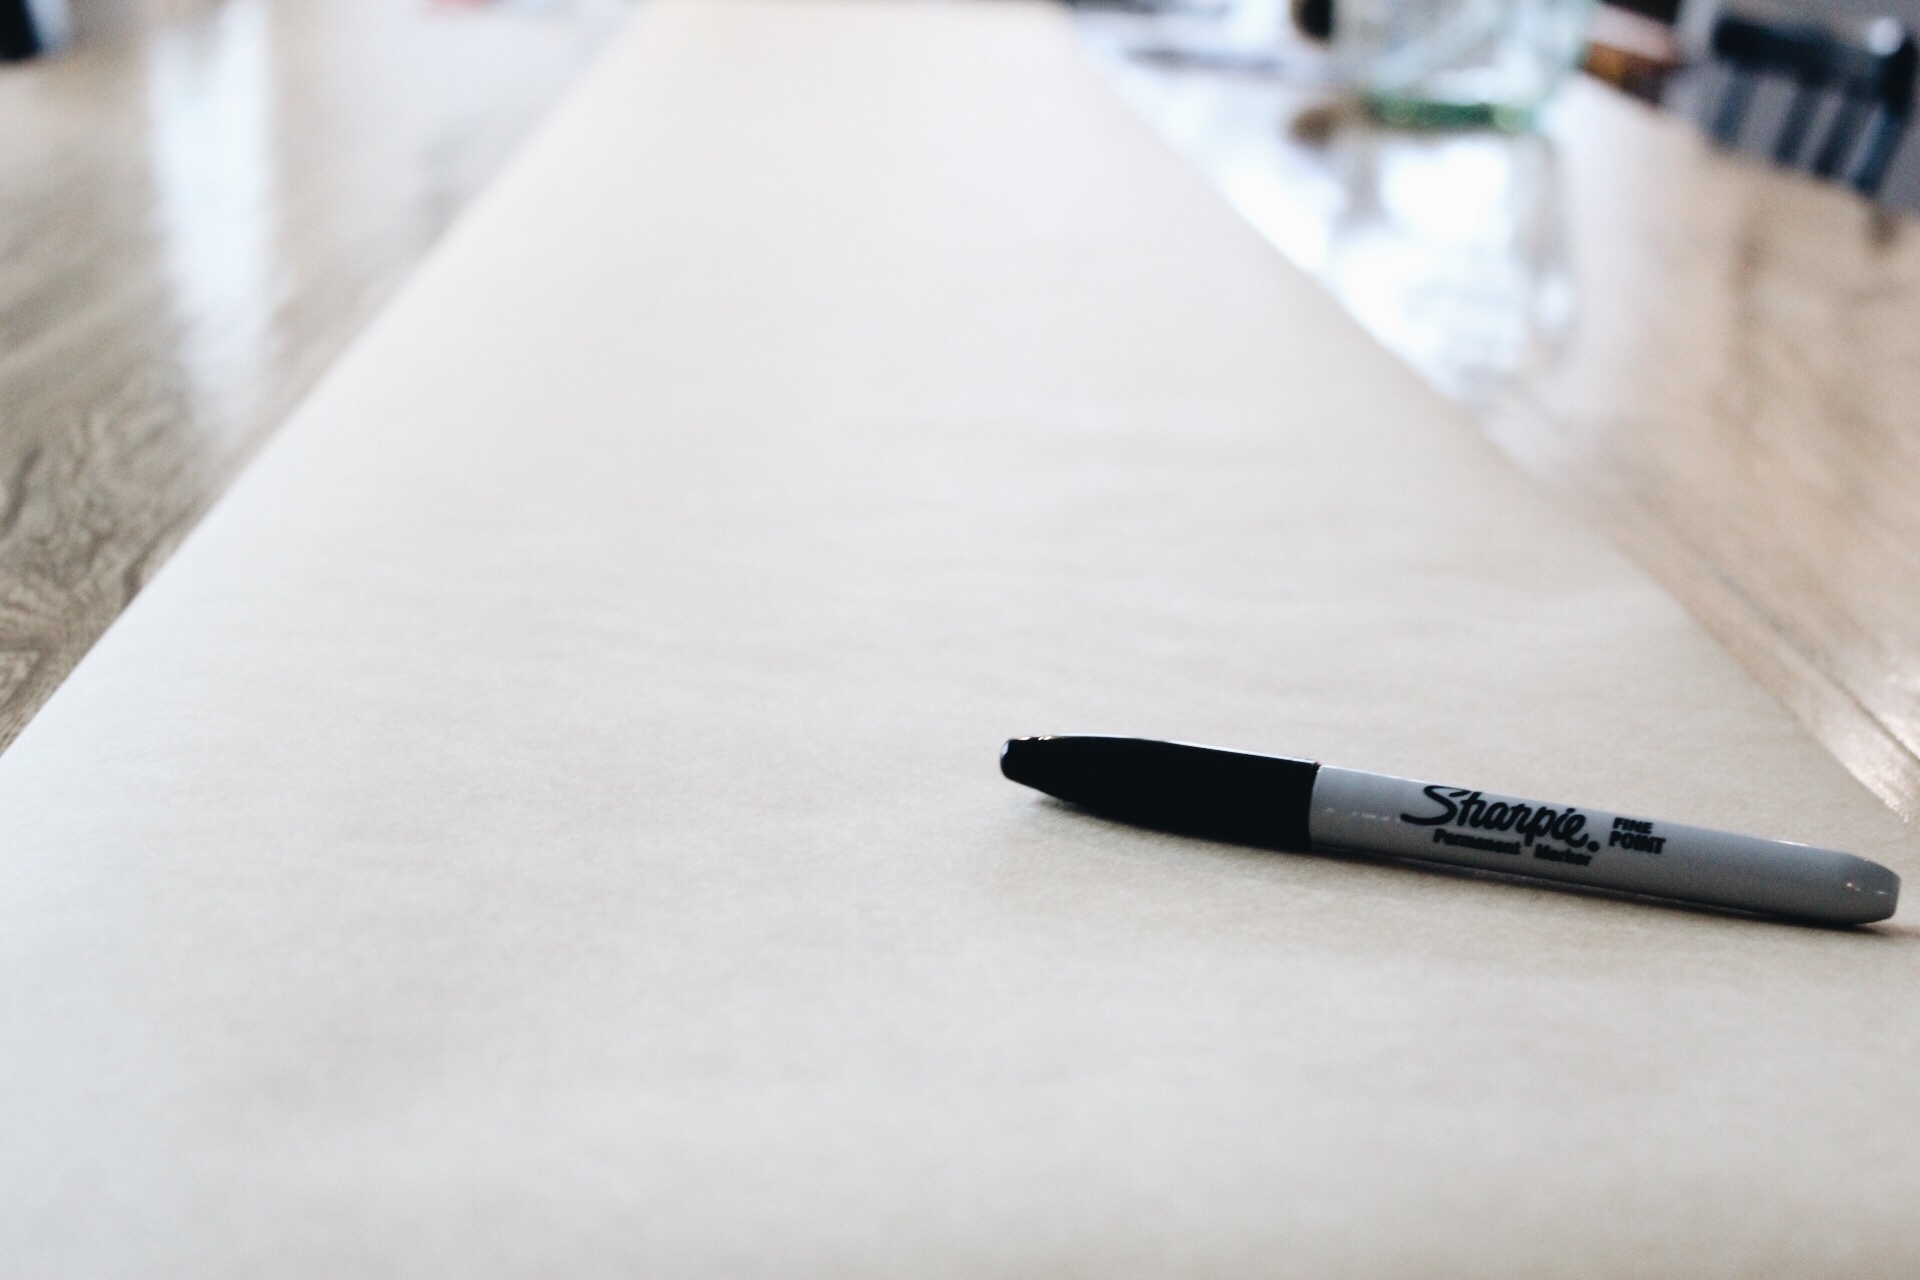
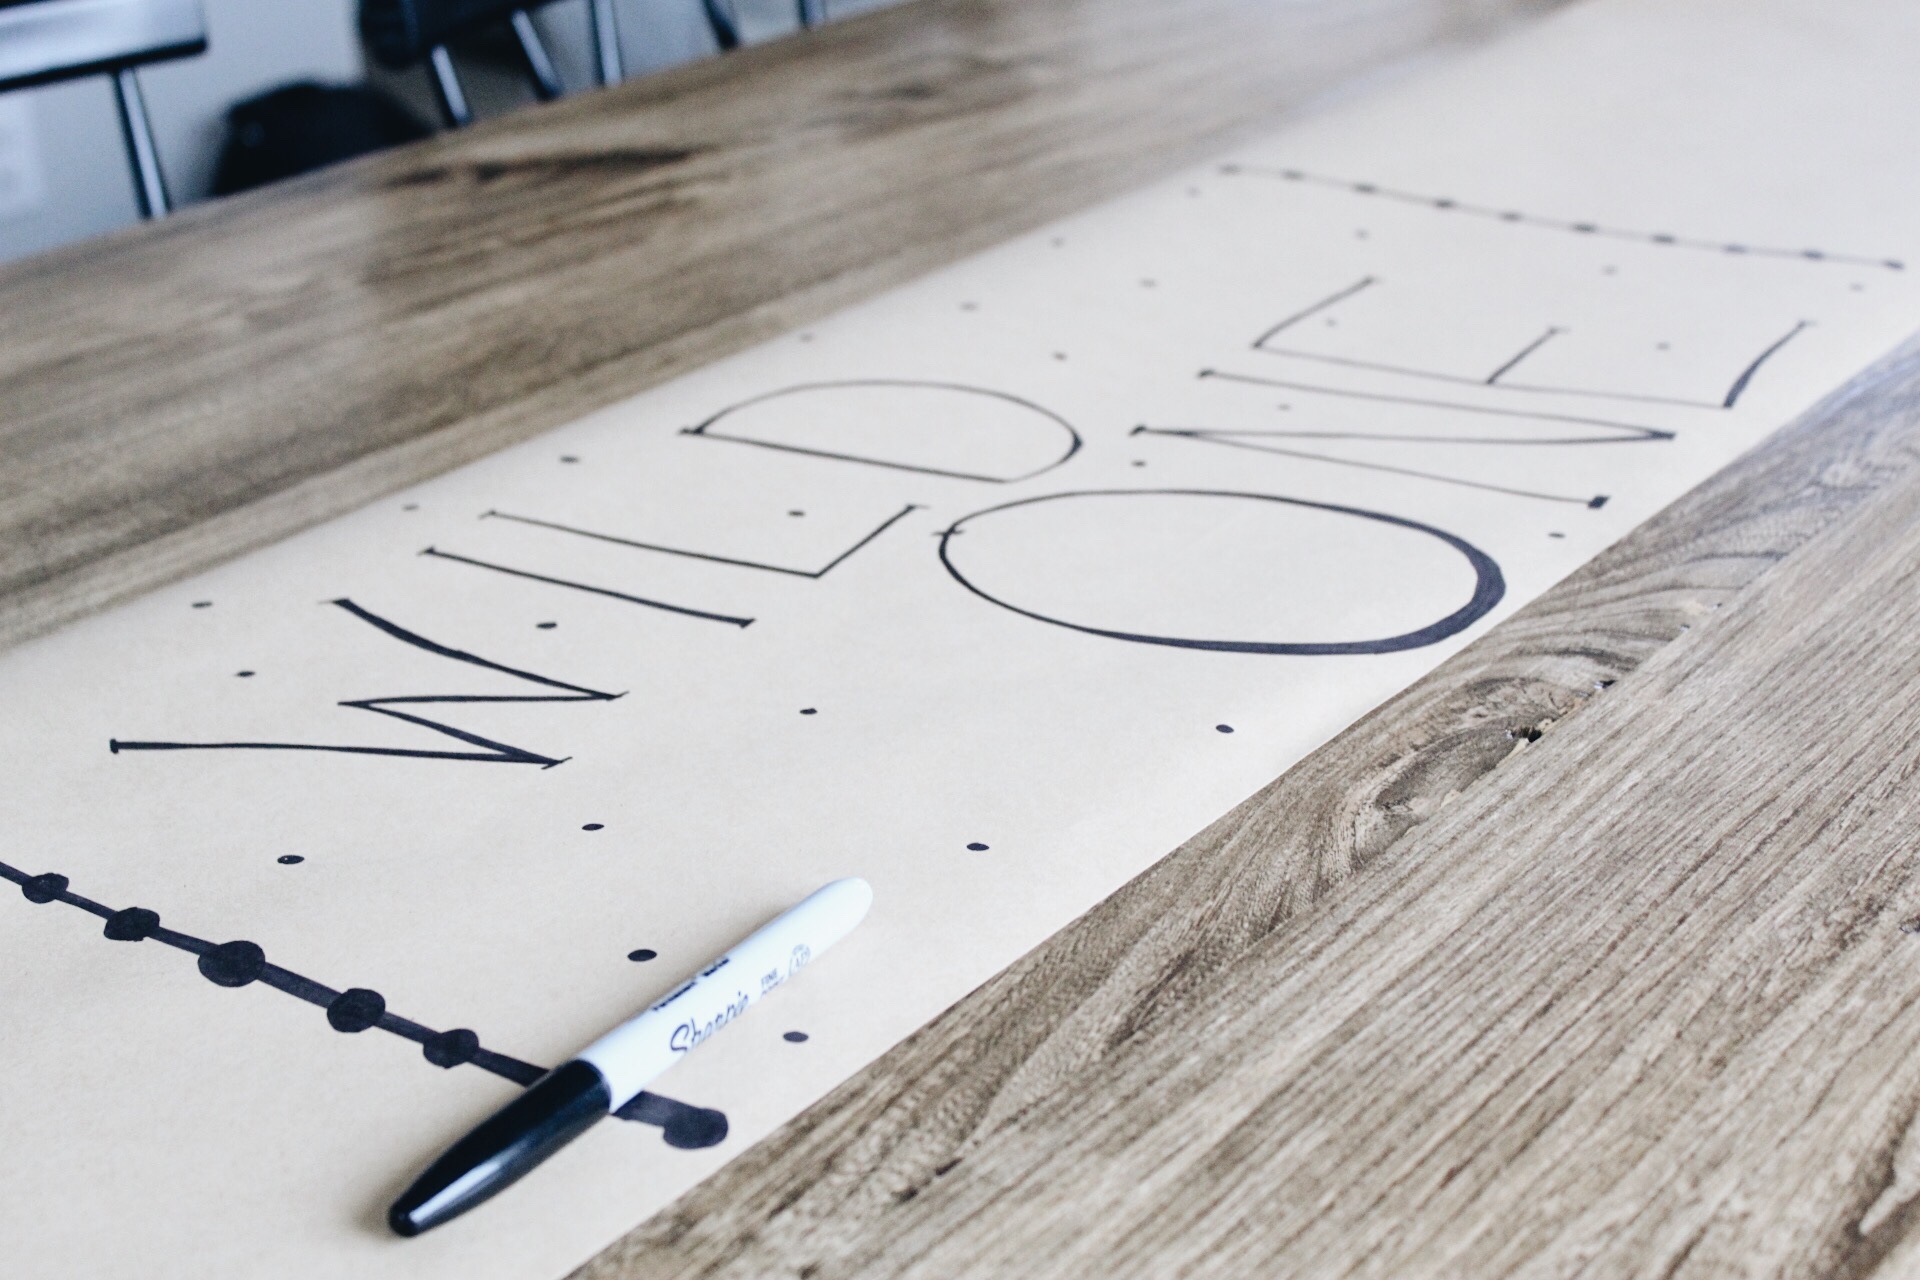
I unrolled a piece to stretch the length of our kitchen table. Then I taped the ends. I used a Sharpie to write “Wild One” in the middle of the paper. The idea I had was to have all the guests write a message on the paper for our son. It could be a memory they had of him from this last year, a piece of advice- really anything they felt would be special for him to read when he is older.
This was a totally inexpensive idea to add a personal touch to your child’s birthday party!
++++++++++++++++++++++++++++++++++++++++++++++++++++++++++++++++++++++++++
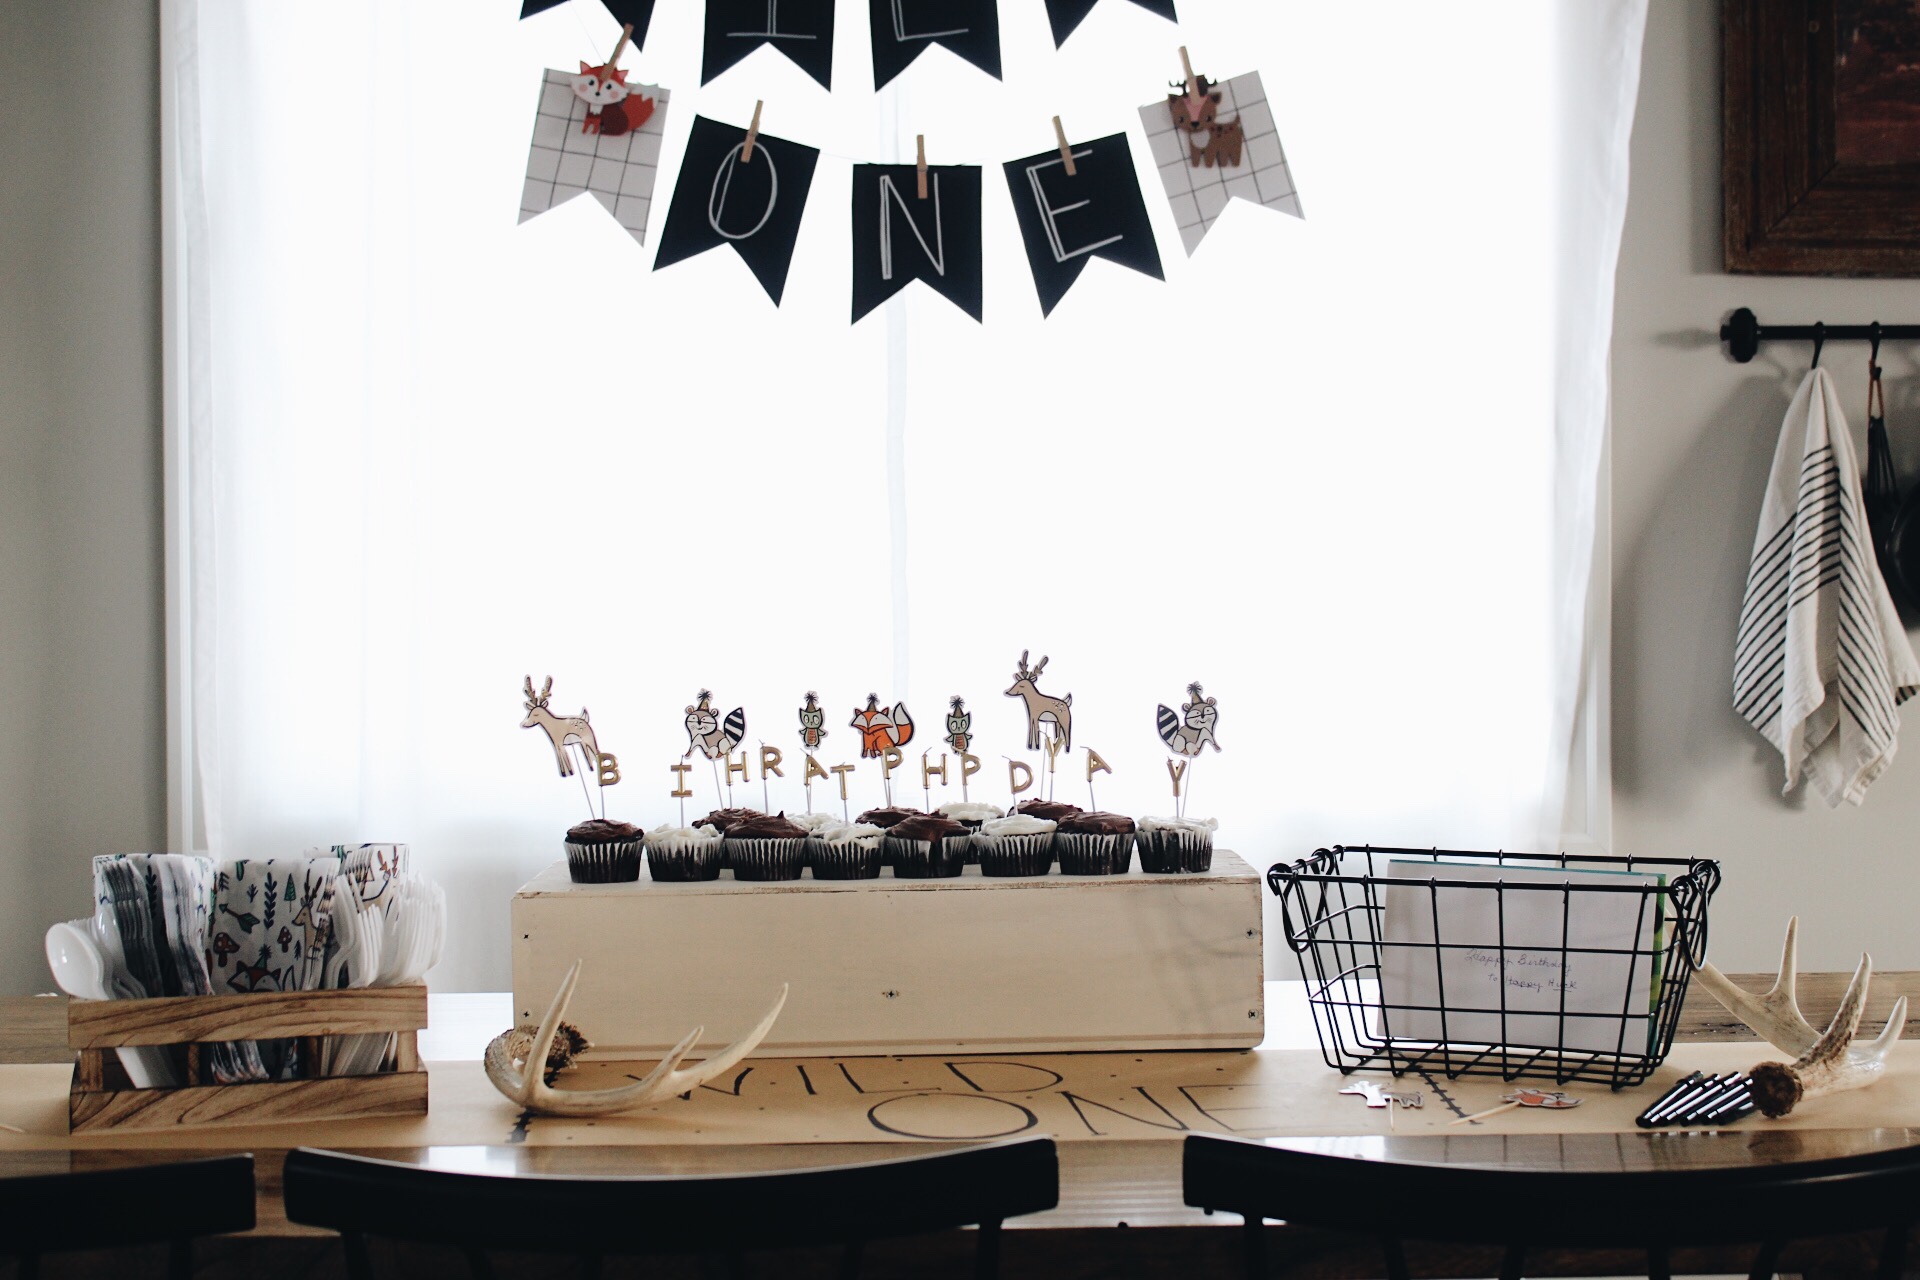
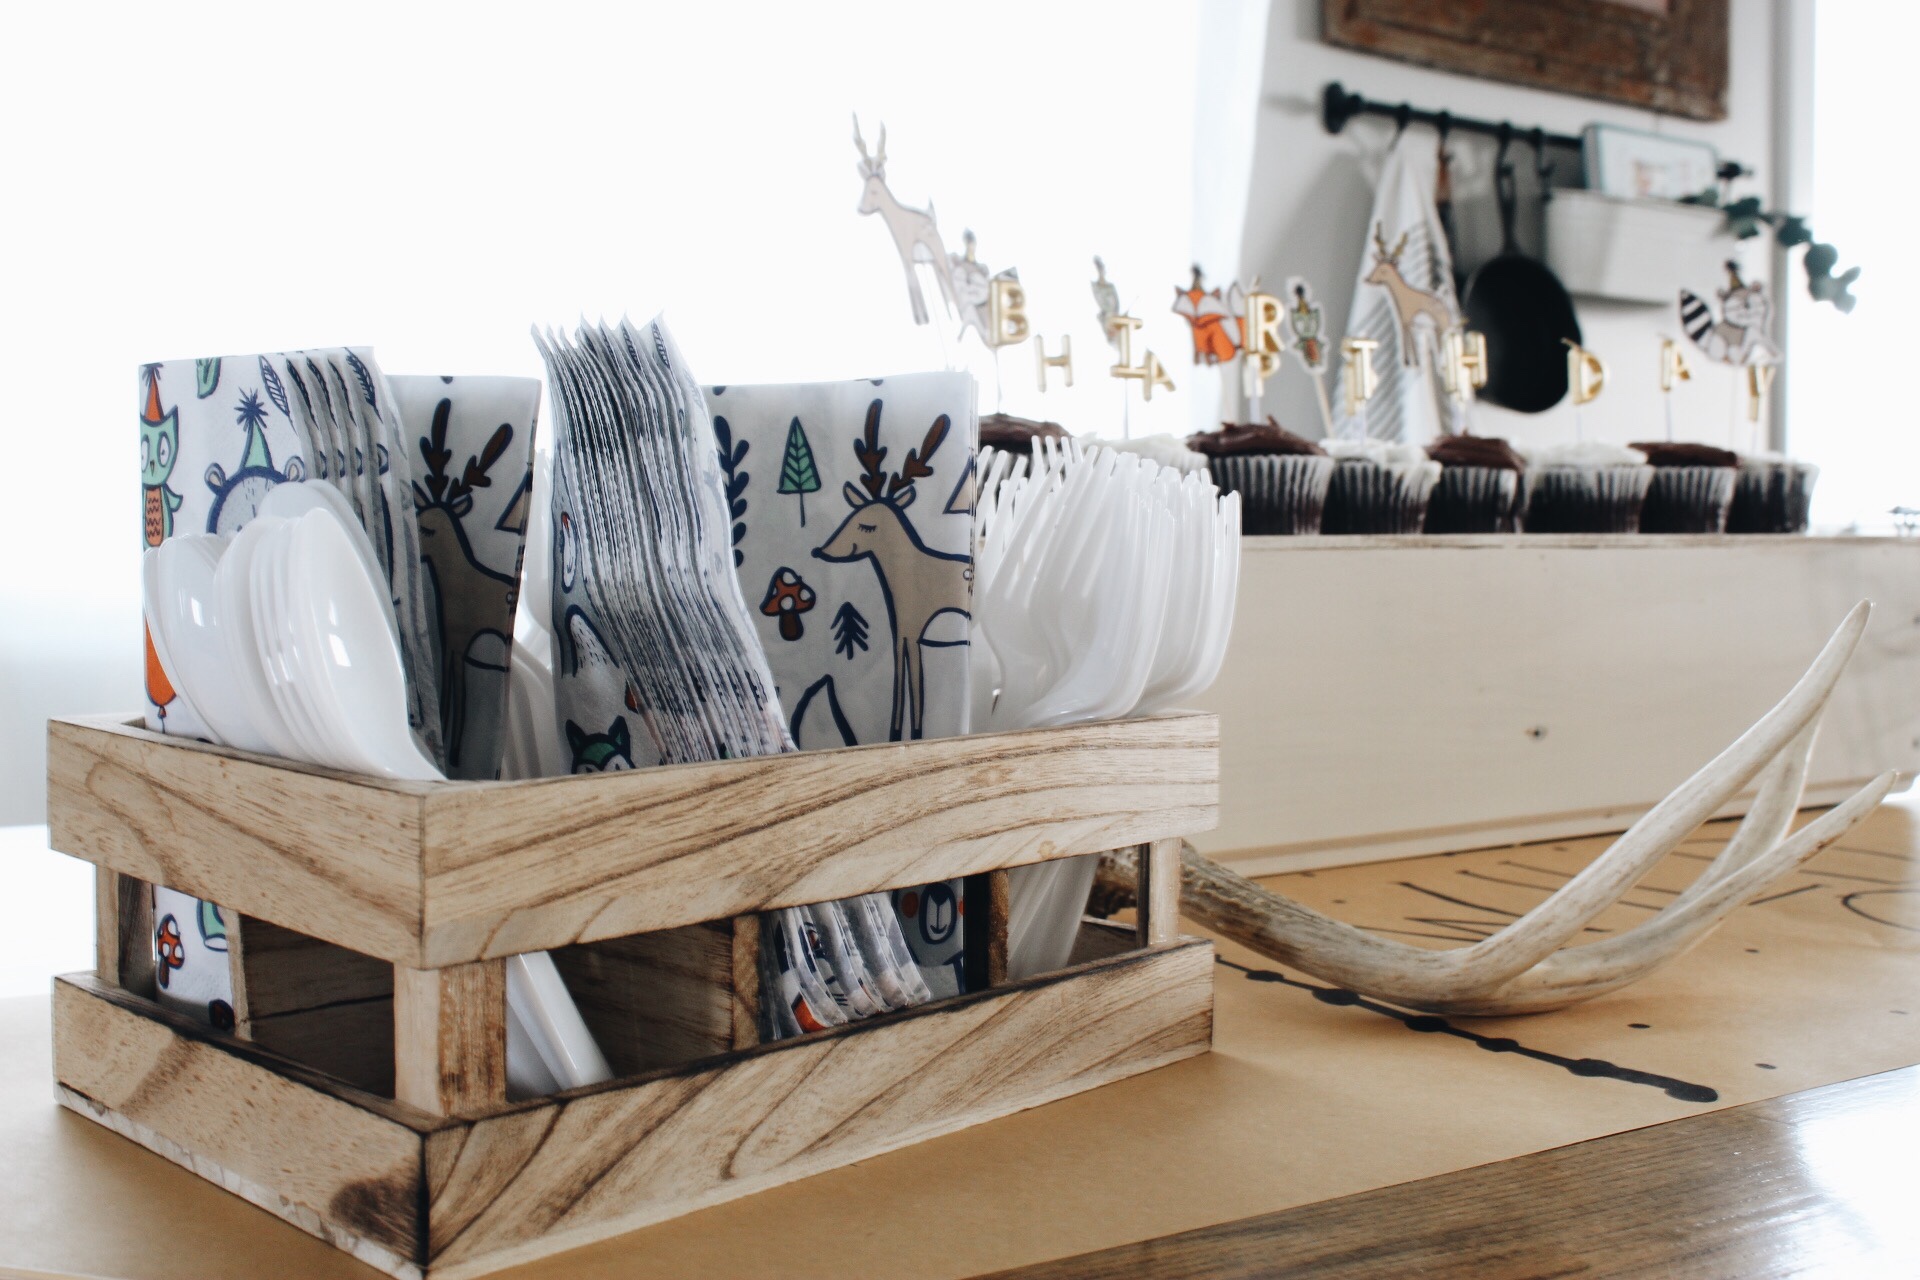 On the table I added a black basket to the table for guests to put cards in and left out black pens for them to write with. I utilized so many things I already had in my home for the center piece of the table and to display plates, napkins, cupcakes and glasses. The wooden piece I have holding the napkins and utensils was something I typically use to hold small vases of flowers. The white box the cupcakes are displayed on was an old shelf I had found laying in our basement.


Shop Your Own House First
Get creative, think outside the box and shop your home when it comes to decorating for your child’s big day!
++++++++++++++++++++++++++++++++++++++++++++++++++++++++++++++++++++++++++
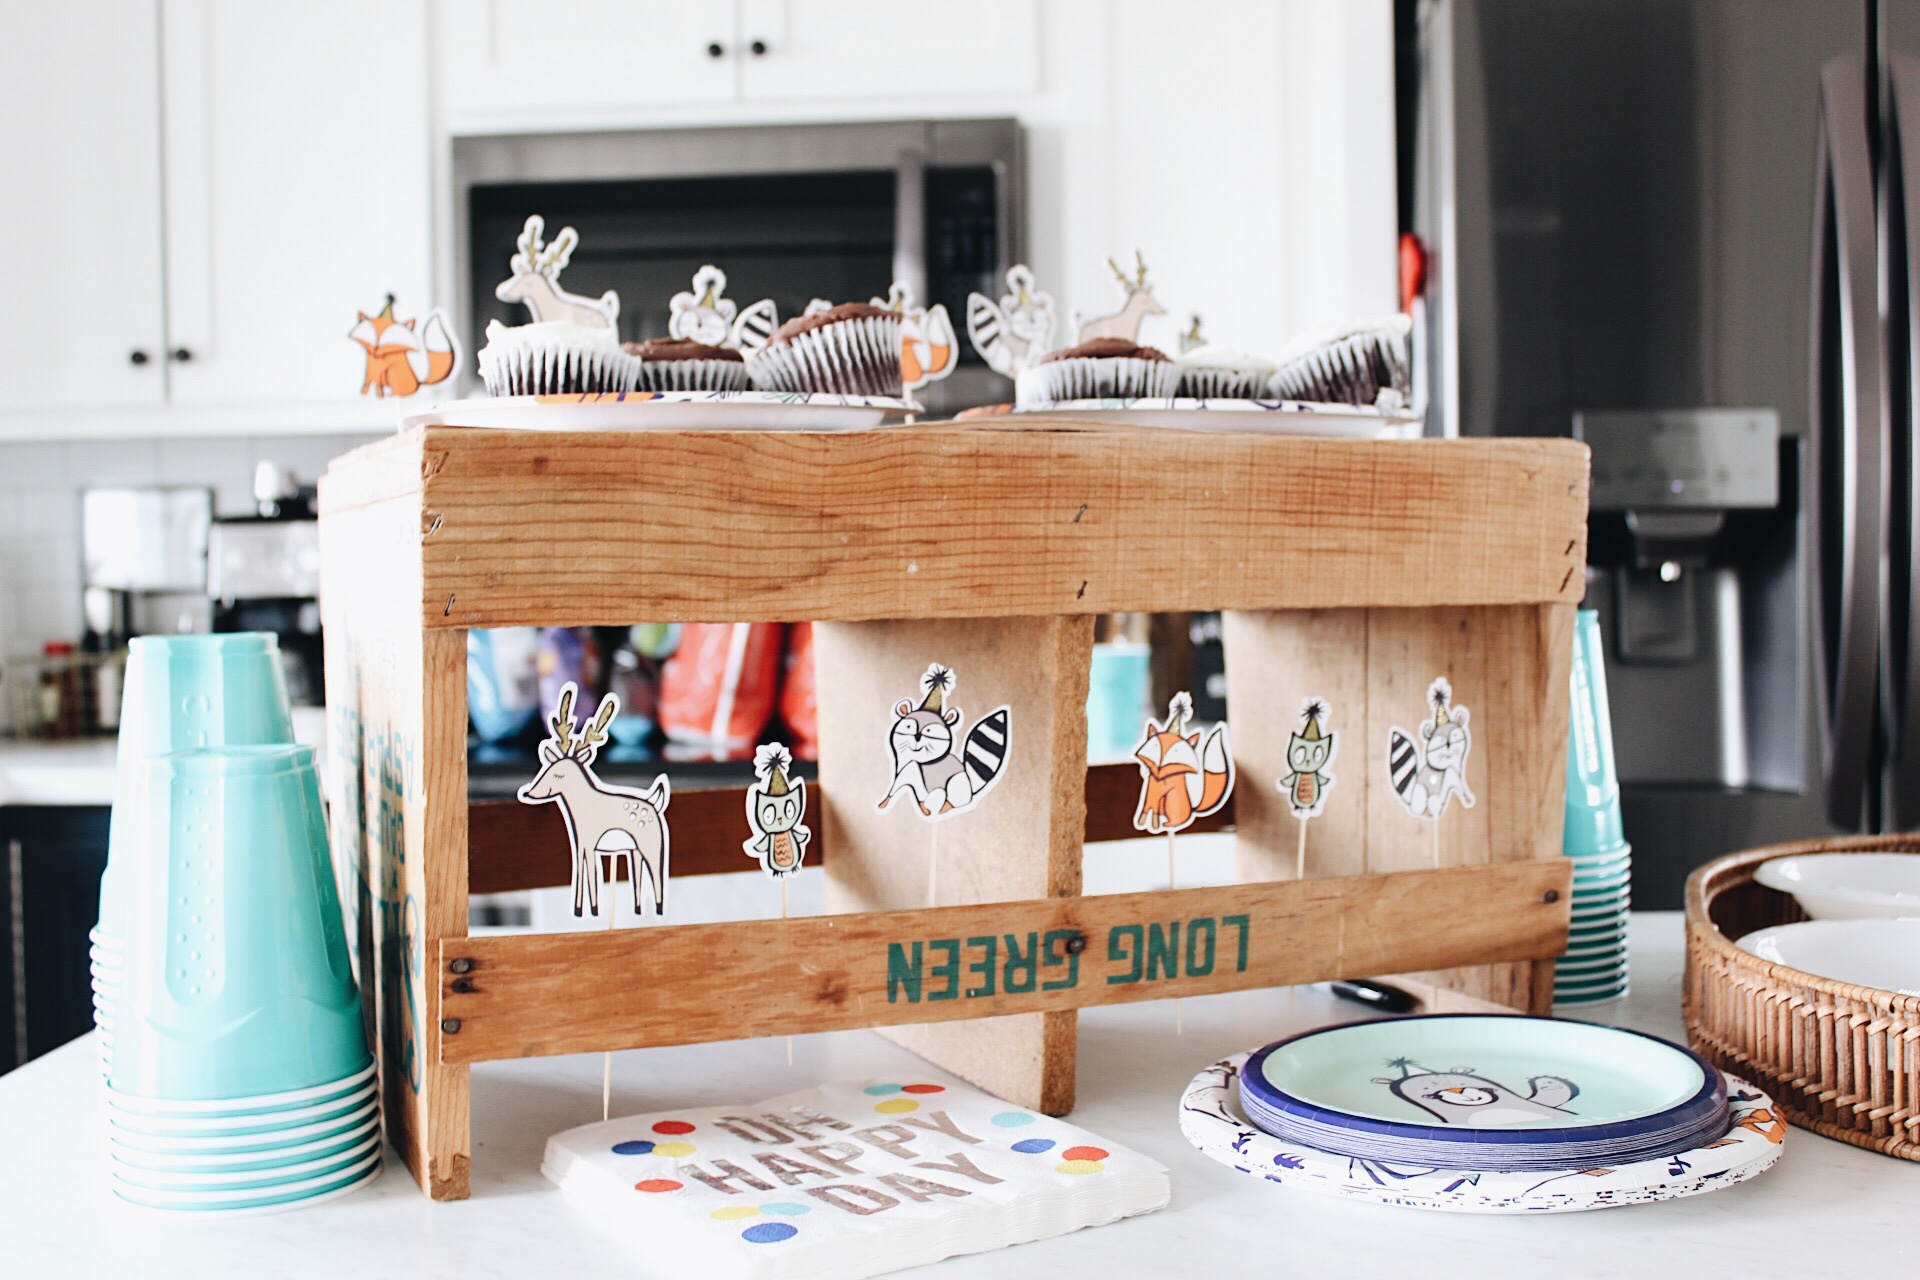
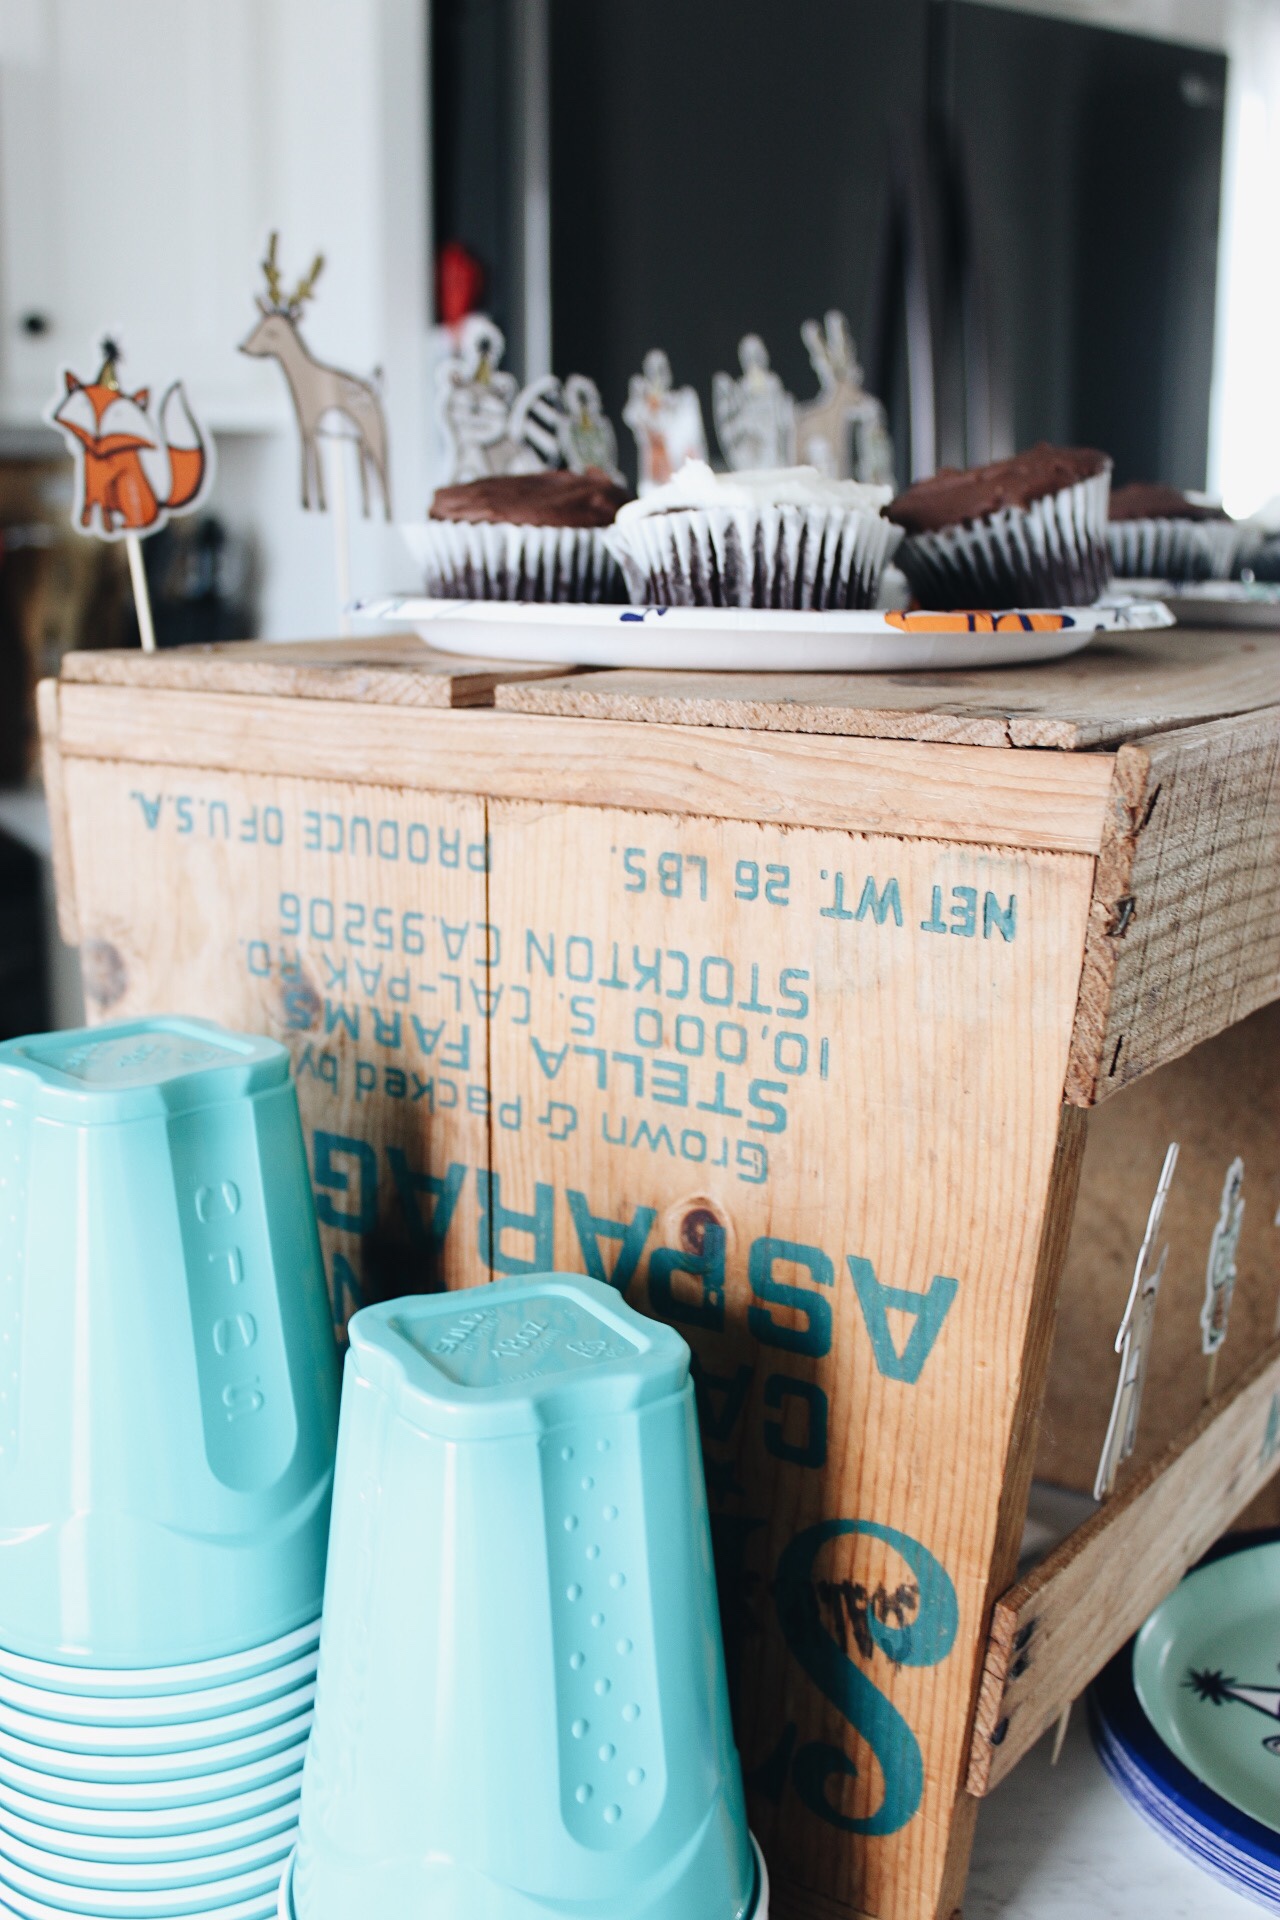
I used our island to hold plates, glasses, napkins and cupcakes. This old wooden crate is one I’ve had for a long time. I turned it upside down to display the cupcakes and added those cute little woodland animals simply by using tape to place them where I wanted them. The woodland animals were also purchased from Target, along with the plates.
One way to save a little bit of money, is to buy just one packet of decorative plates/cups/napkins and then use plain white plastic if you need extra.
++++++++++++++++++++++++++++++++++++++++++++++++++++++++++++++++++++++++++

Birthday Banners
Let’s talk banners…. my advice? Make them yourself! This was super fun and super inexpensive. First, I bought black paper, cut it out to the size I wanted it and used a chalk pen to write the letters. Then, I used clothespins to attach to some twine and the small woodland animals. Those animals I bought at Walmart for around .50cents each. Because I wanted a more outdoorsy feel, I added some green garland (that I already had).
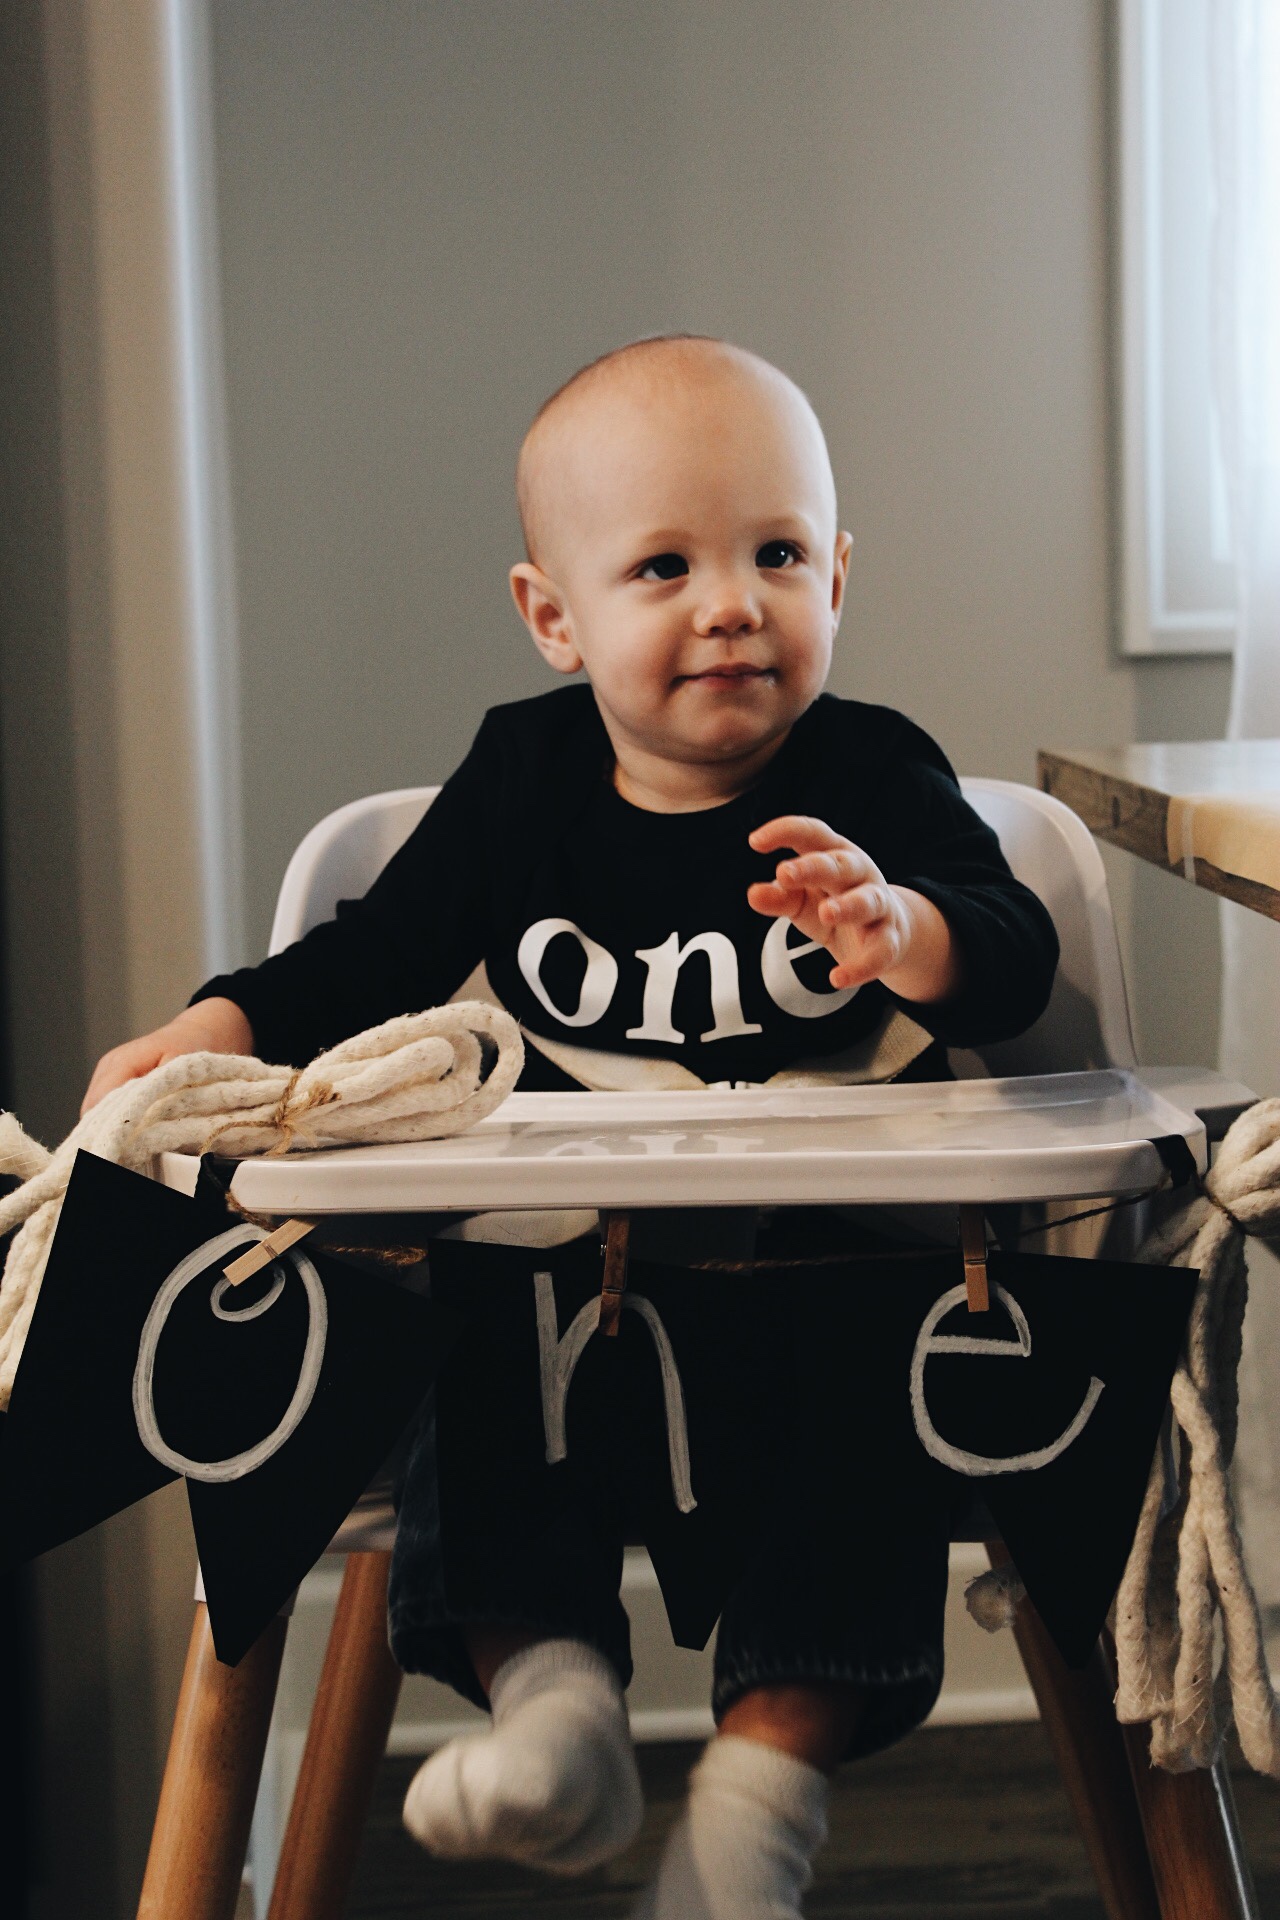
Then, I used the same concept to make a banner for my son’s chair and simply used tape to attach it.
++++++++++++++++++++++++++++++++++++++++++++++++++++++++++++++++++++++++++
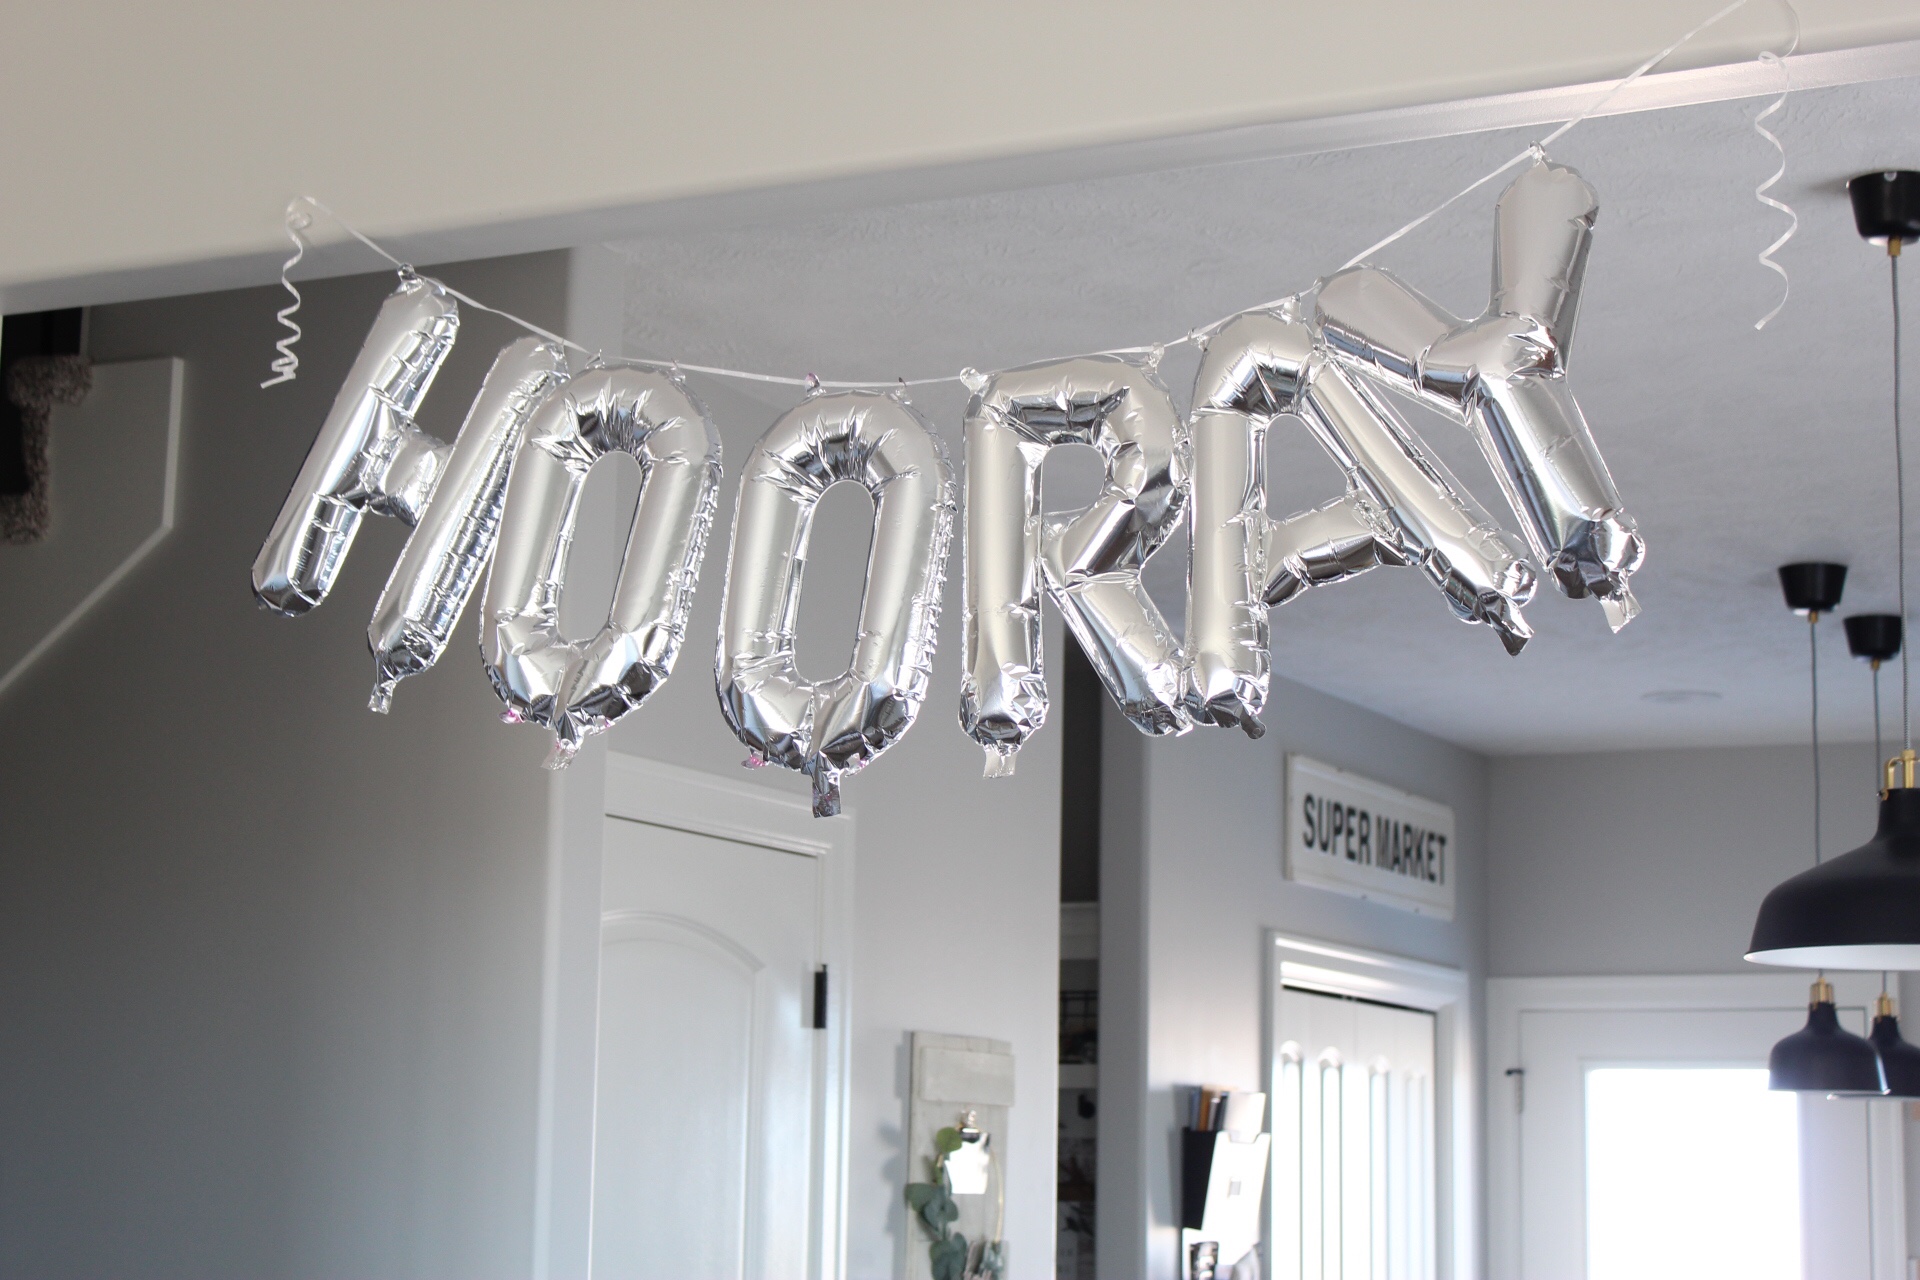
Birthday Balloons
So, I didn’t go overboard on balloons as you can tell (LOL). Buying the Hooray balloon ahead of time saved money. It was also in the Target dollar section. It was super easy to blow up and I just used clear tape to attach it.
Finally
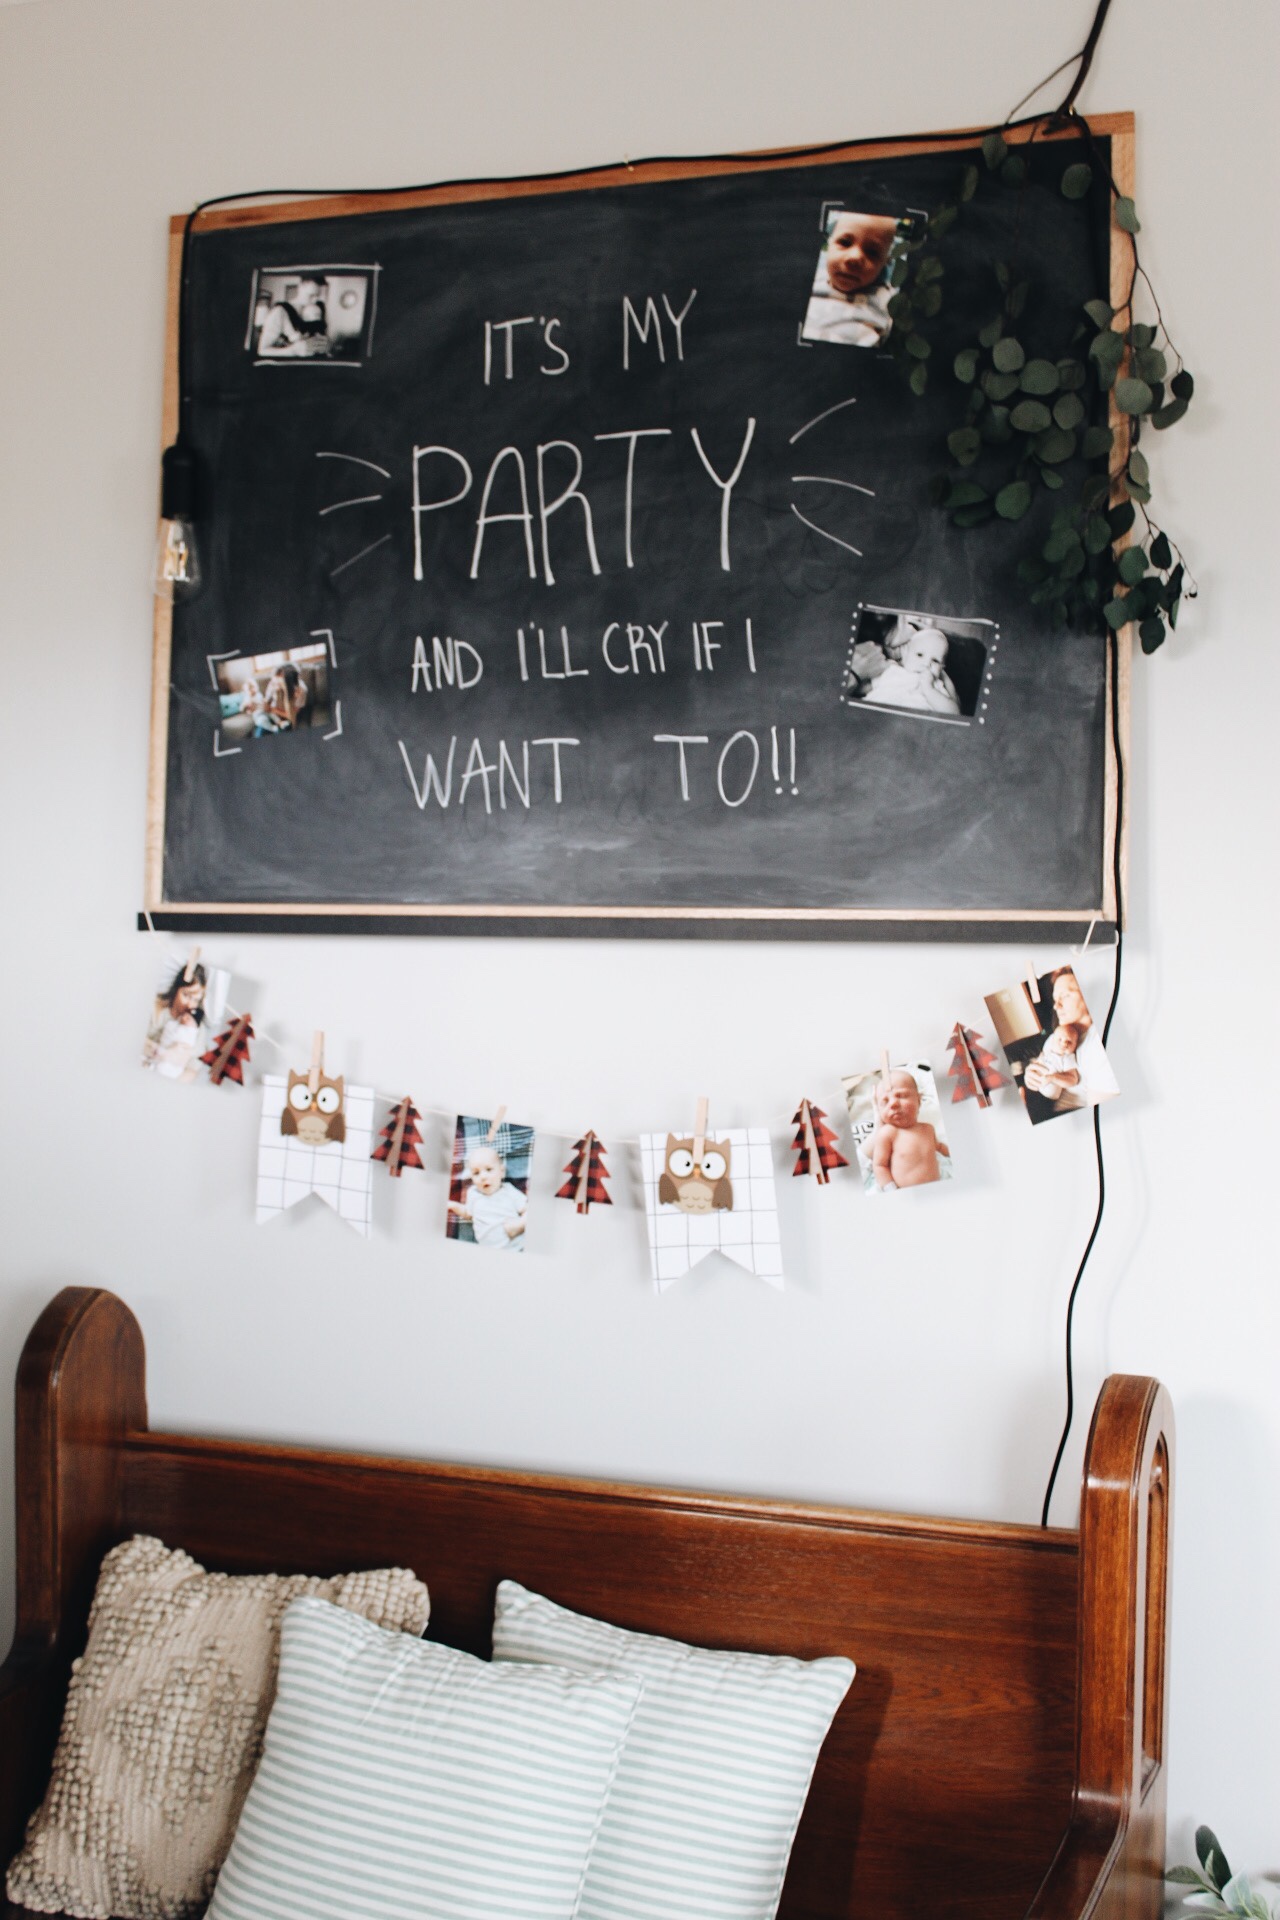
I used the chalkboard we have in our entry way to display a special little message. 🙂 And chalkboards are SO great to use in all areas of your home! I love how creative you can get with them. I also decided to add some pictures on it and then stream another banner on the bottom displaying some of my son’s pictures. Get more chalkboard decor ideas here. The tree banner was purchased at Target in their dollar section probably three years ago. I simply used clothespins again to add some extra birthday touches.
++++++++++++++++++++++++++++++++++++++++++++++++++++++++++++++++++++++++++
And there you have it, folks! I hope this gave you some idea for your kiddos next birthday party!! 🙂
Party on, Wayne!
Happy creating!
Holly