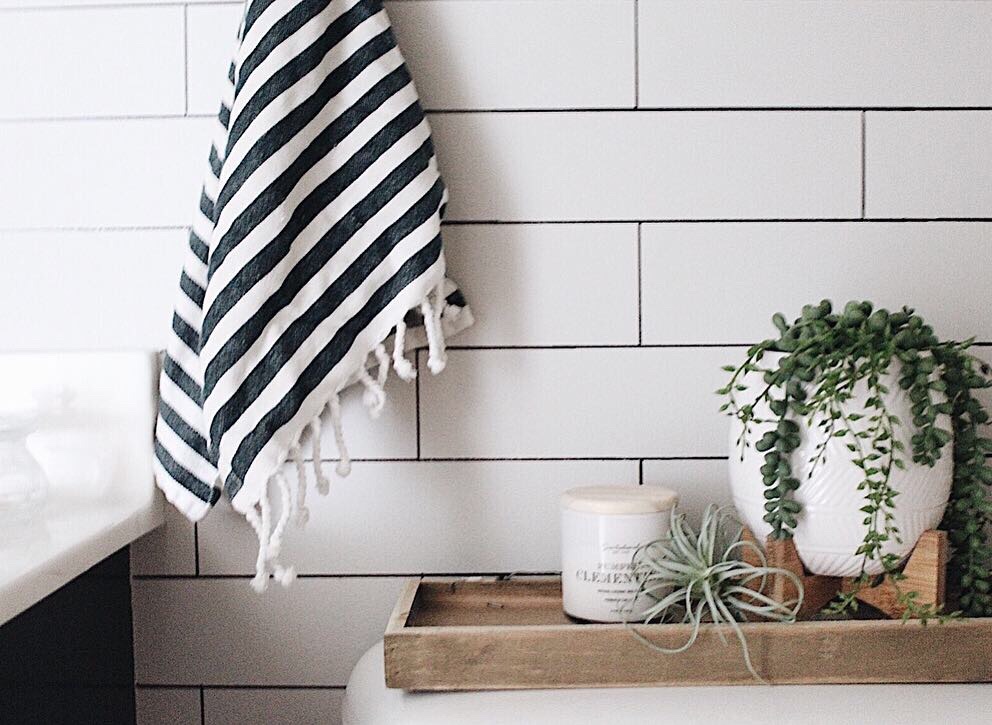
Subway tile …. it’s a personal favorite. When we were designing our home I knew I wanted it in our kitchen, but I also desperately wanted it in our bathroom. However, I knew that we had a very strict budget, and that simply wasn’t top priority. So, as you could have guessed, it didn’t happen. Well, not like I was originally thinking…..
I knew I so badly wanted that look, but I also was realistic and knew it wasn’t in our price range. So, I had to get creative. I want to share with you one of my favorite diy’s that I have completed to our home thus far…. #sharpiesubwaytile.
Yes, you read that right. Let’s get into the “how to”, shall we??
Materials
+Level (for this small bathroom space a smaller level worked well)
+Sharpie Paint Pen (black, fine point)
+Pencil
+Ruler
Left over subway tile as guide (optional)
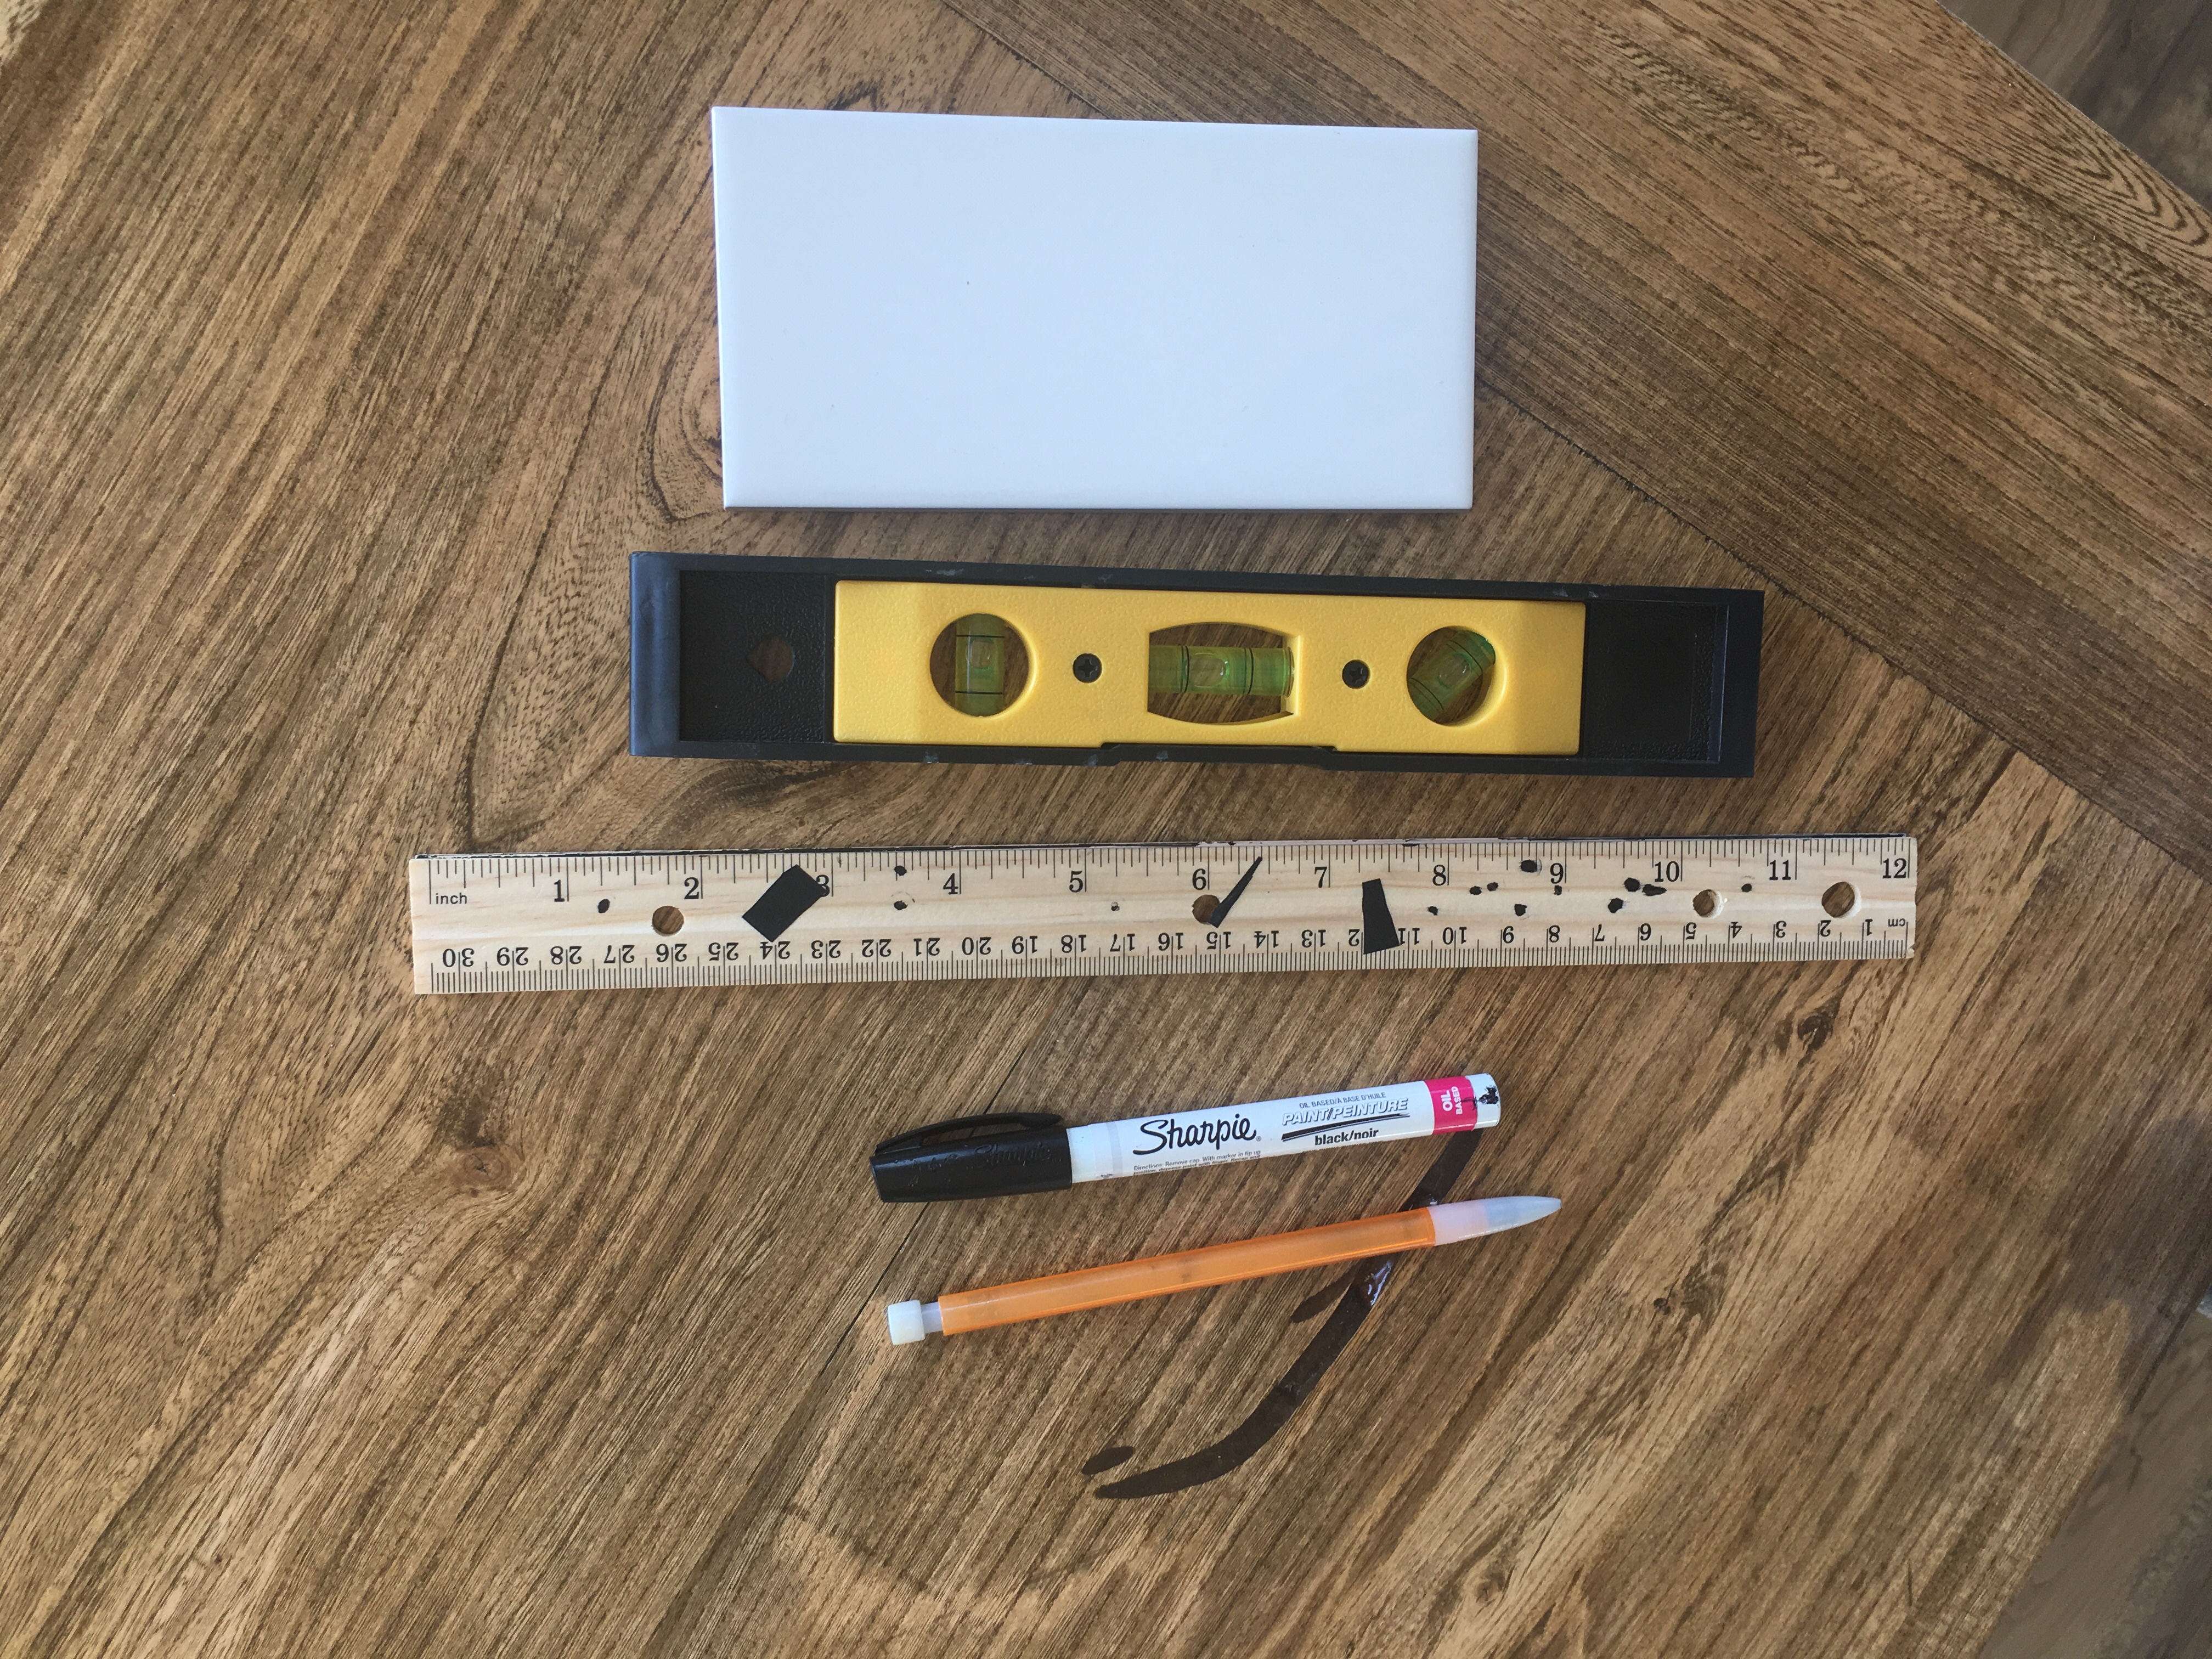
+Something I found helpful– if you are to make a mistake during the process use a Magic Eraser. If you give it a good scrub with the eraser, it will come off.
Step by step directions for this Subway Tile DIY
1. Take down anything you have on your wall. Decide exactly what size subway tile ‘look’ you want to do. I had a left over tile from our kitchen that I used for a guide. But I actually doubled the length because I like the look of a longer subway tile.
2. Next, using your pencil and ruler to determine your spacing, make small dashes down the length of your wall representing where your horizontal line will start. I recommend starting at the top of the wall not the bottom.
3. Then, using your level, make all the horizontal lines. I highly recommend NOT SKIPPING this step. Doing all the lines in pencil first is really going to help you not make a bunch of mistakes once you’re ready to use the sharpie paint pen.
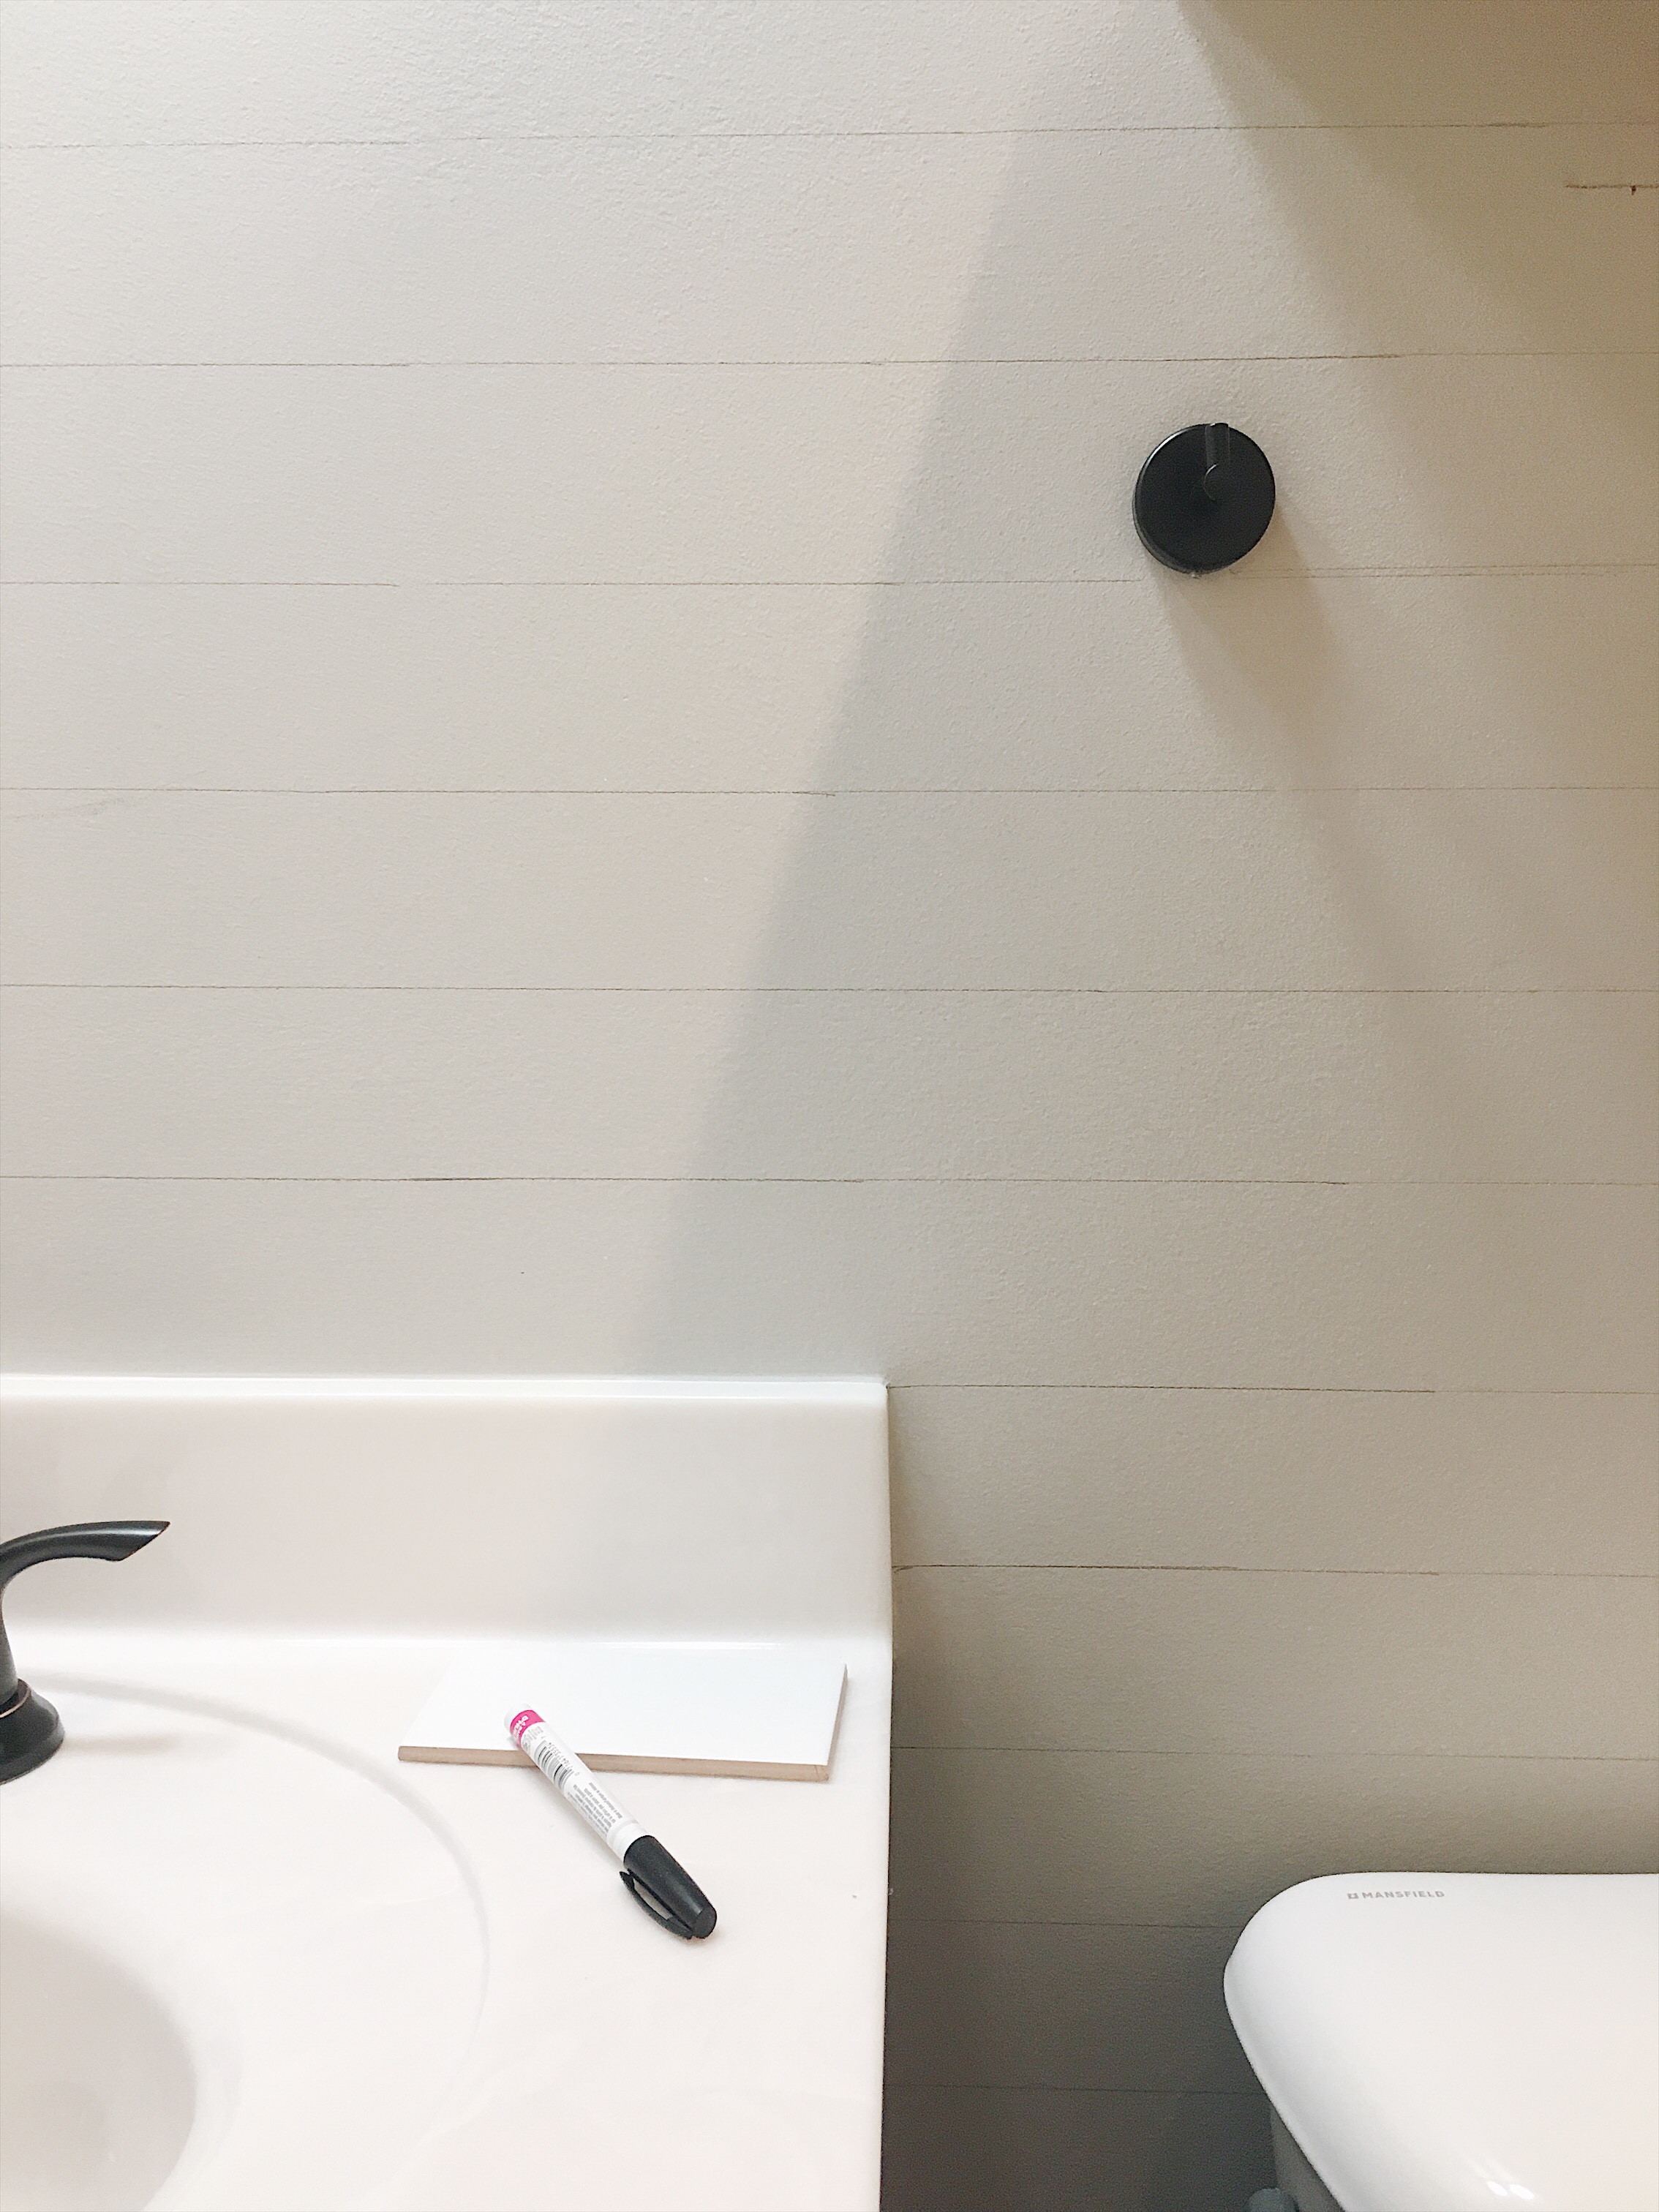
4. Once all your horizontal lines are done in pencil, and look all nice and level, you can start making your small vertical lines that will give you that subway tile look. You can decide to make the ’tiles’ however long you like. I preferred the longer subway tile look so I spaced mine out that way.
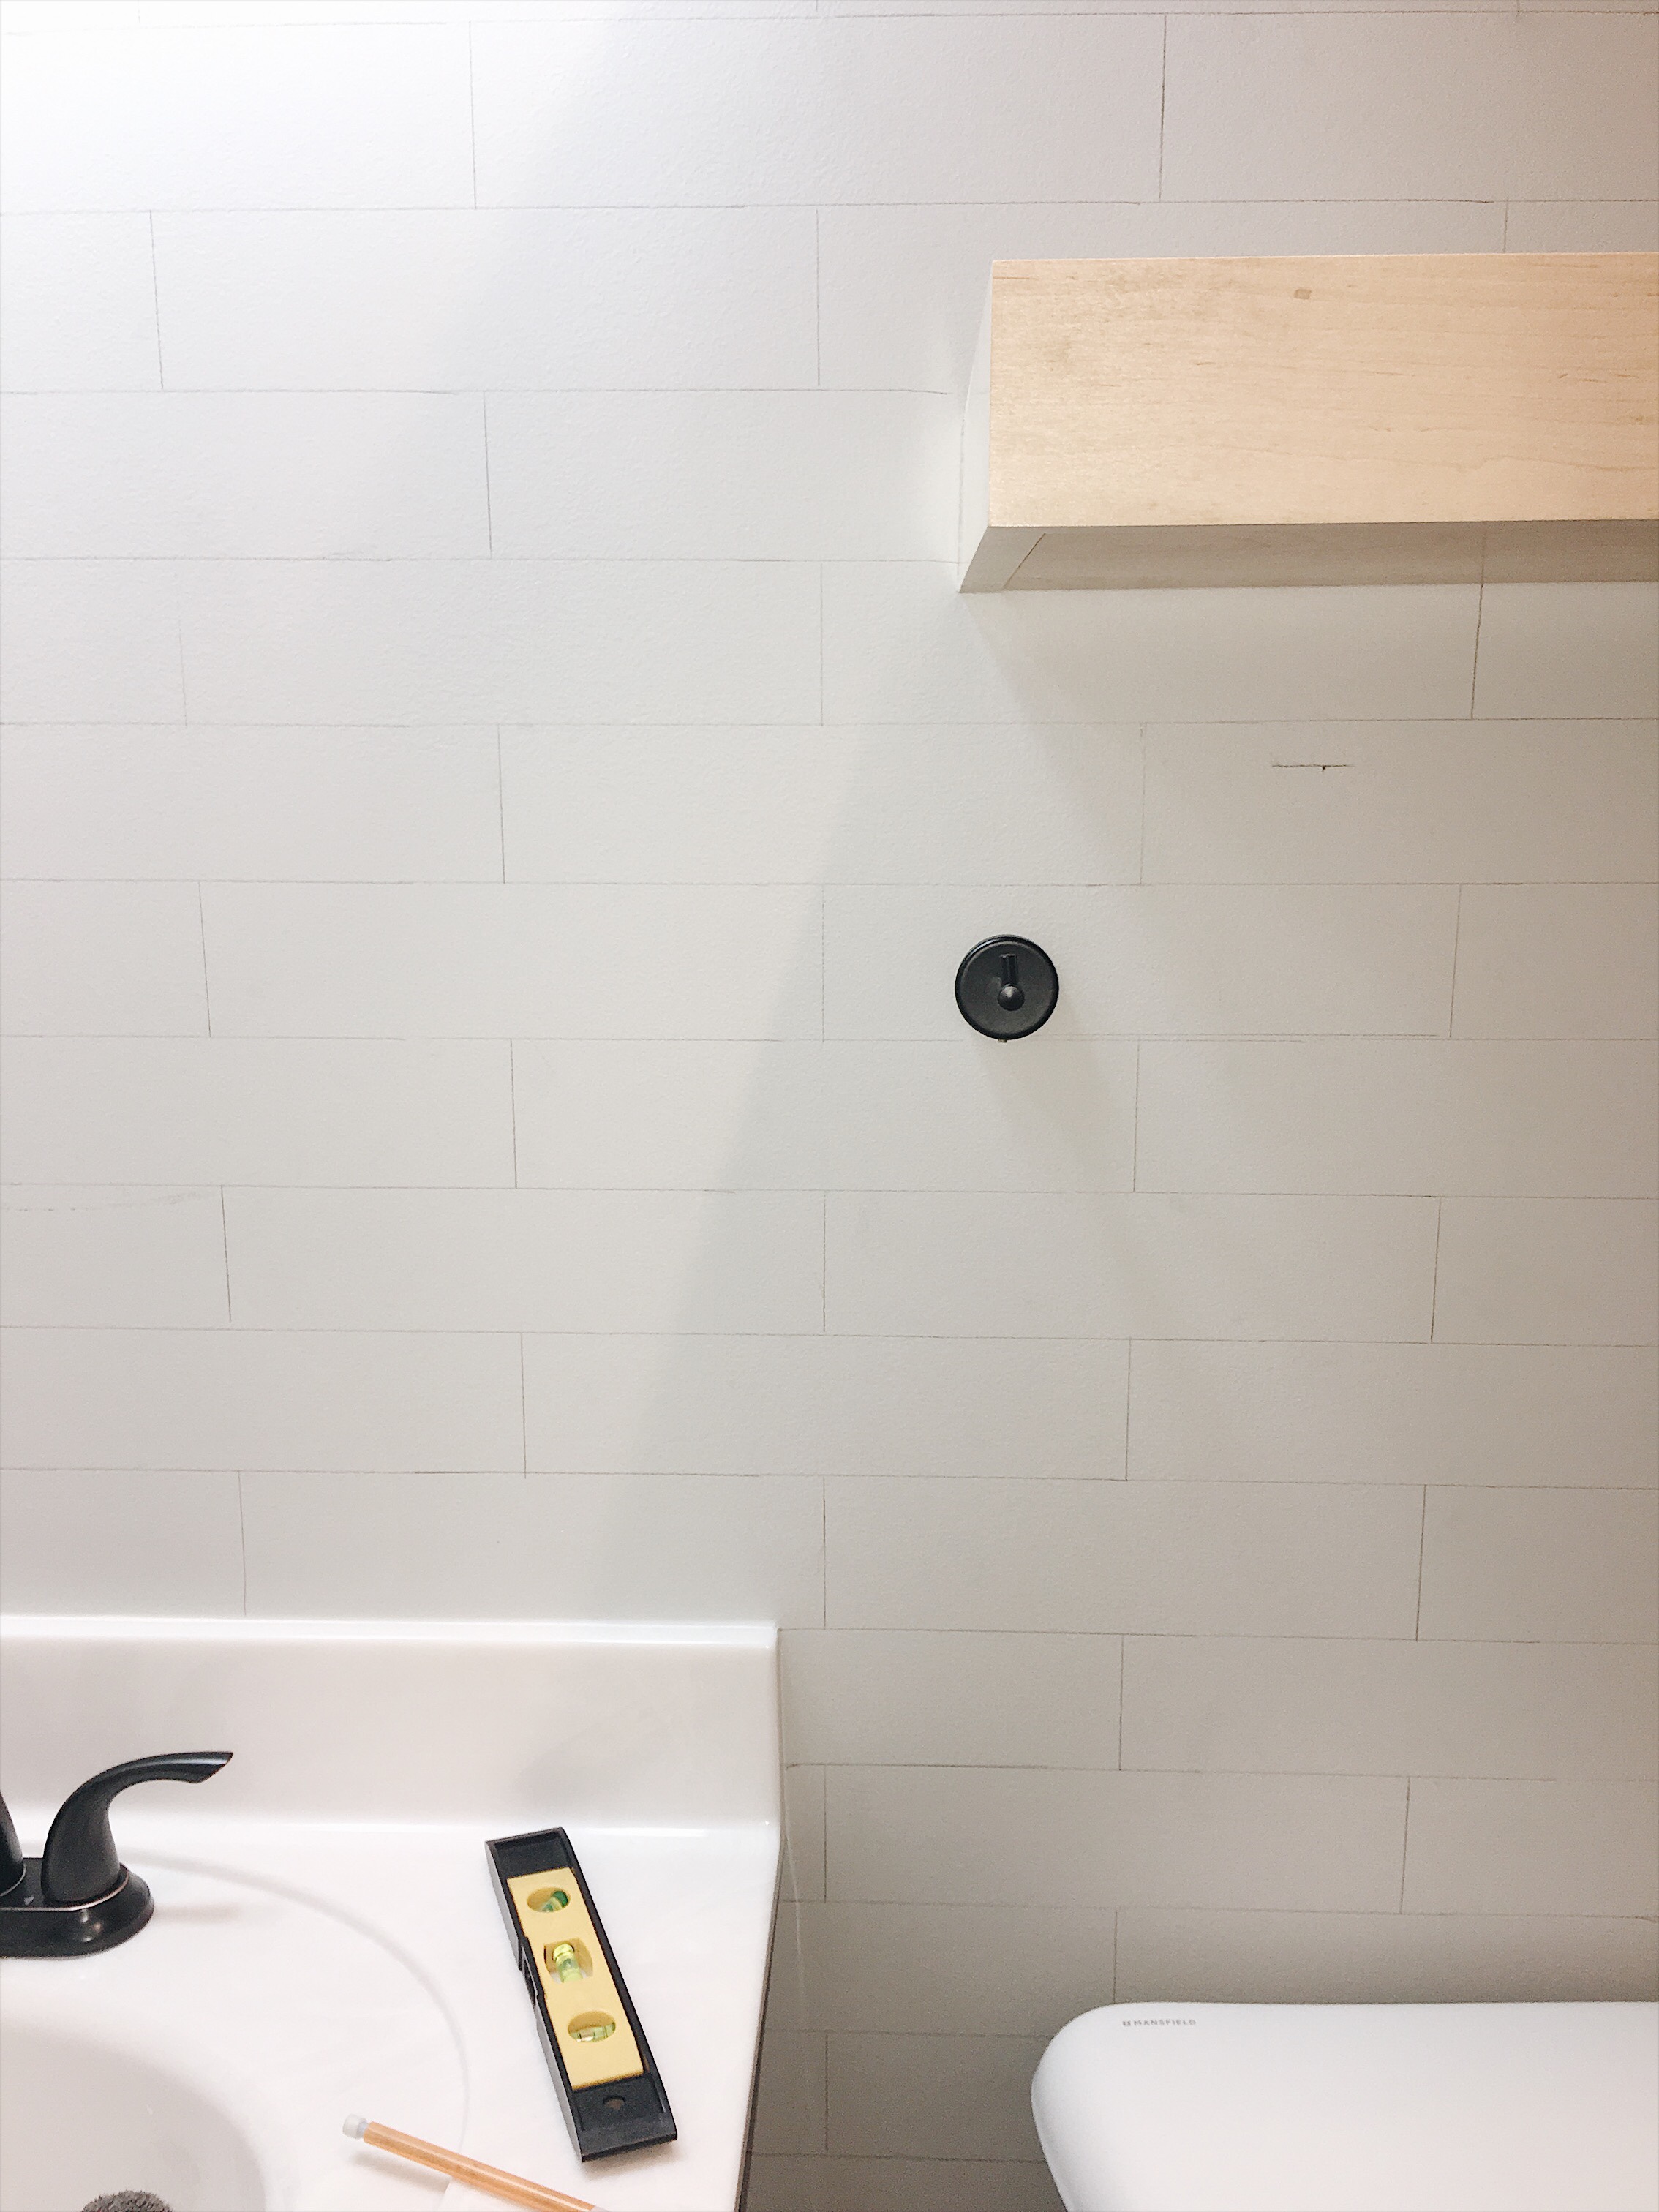
5. Okay, so you’ve got it all completed in pencil! Woot, woot!! You are starting to see the light at the end of the tunnel! Now comes the fun part- lets use our sharpie paint pen! Using your ruler as your tool to trace your pencil lines, simply place it on your pencil line and draw a line over the pencil with your sharpie. I did all my horizontal lines first. And then all my small vertical lines. Make sure to shake the pen every now and then to make sure the paint comes out evenly.
ALSO: after you have drawn one line with your sharpie and you pick your ruler up to continue onward, start your next line slightly over your last line (overlap your lines). This will help the line look continuous and not choppy.
ALSO ALSO: keep that Magic Eraser handy in case you are to mess up. That way you are able to erase it right away.
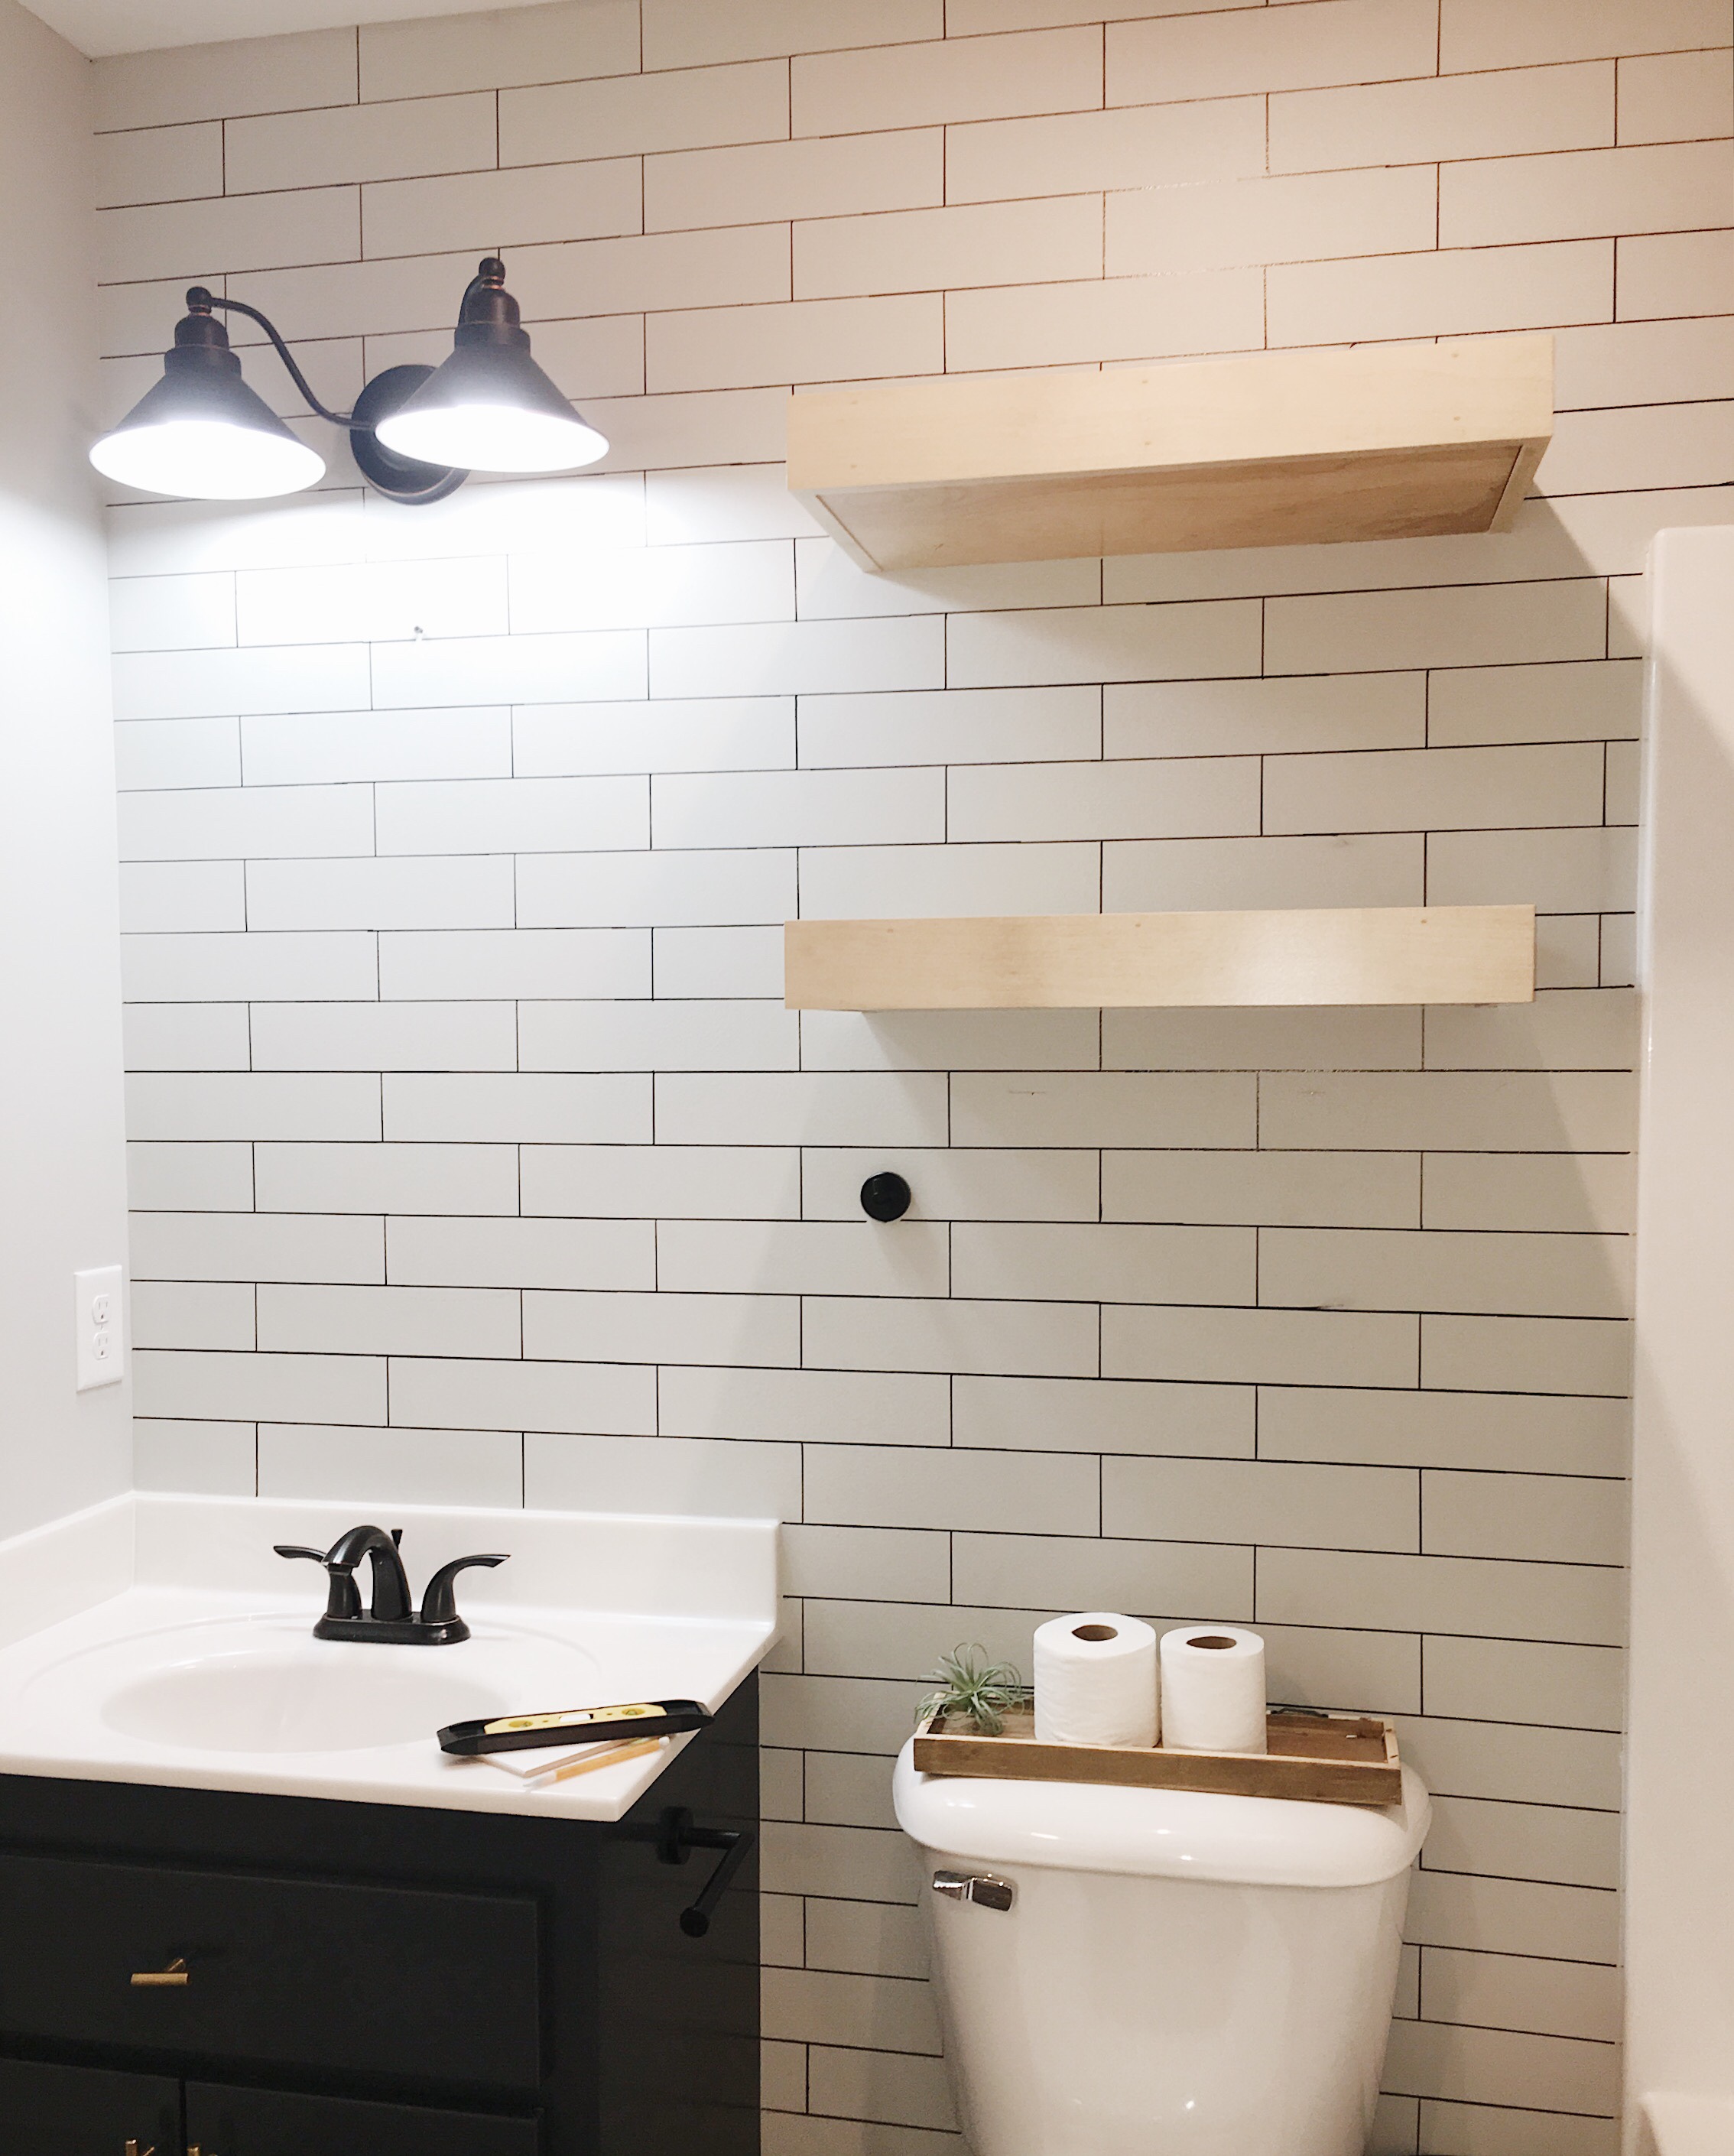
And that’s it! You have officially created the LOOK of subway tile, using a SHARPIE PAINT PEN!!
If you have any questions, drop me an email or direct message me on Instagram at Calling_allcreators. I’d love to answer any questions you may have. And of course, if you do this, please tag me so I can see your beautiful creation!
Happy Creating, friends!