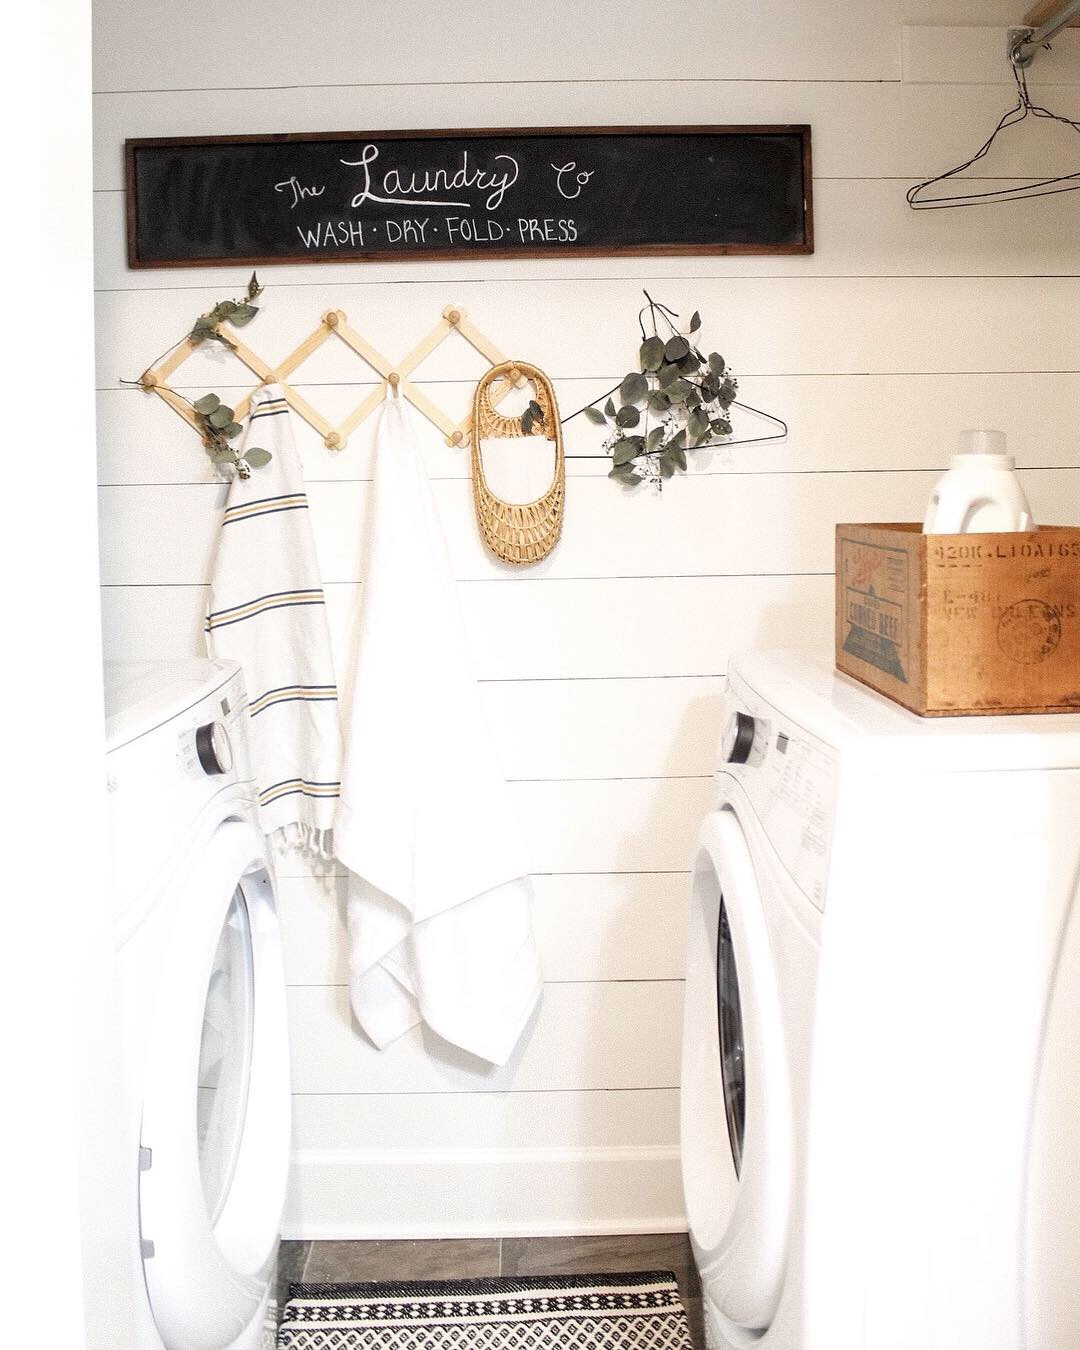
YOU GUYS!! I’m thrilled to share a simple DIY with you that will transform a space. Introducing faux shiplap, using a sharpie paint pen. It’s the real deal ya’ll. So, let’s get down to business, shall we?
MATERIALS
This post contains affiliate links. Please read my Disclaimer for more information.
+Sharpie (black) paint pen (link provided for the exact one I used)
+Yard stick
+Level
+Pencil
(And probably a ladder, LOL)
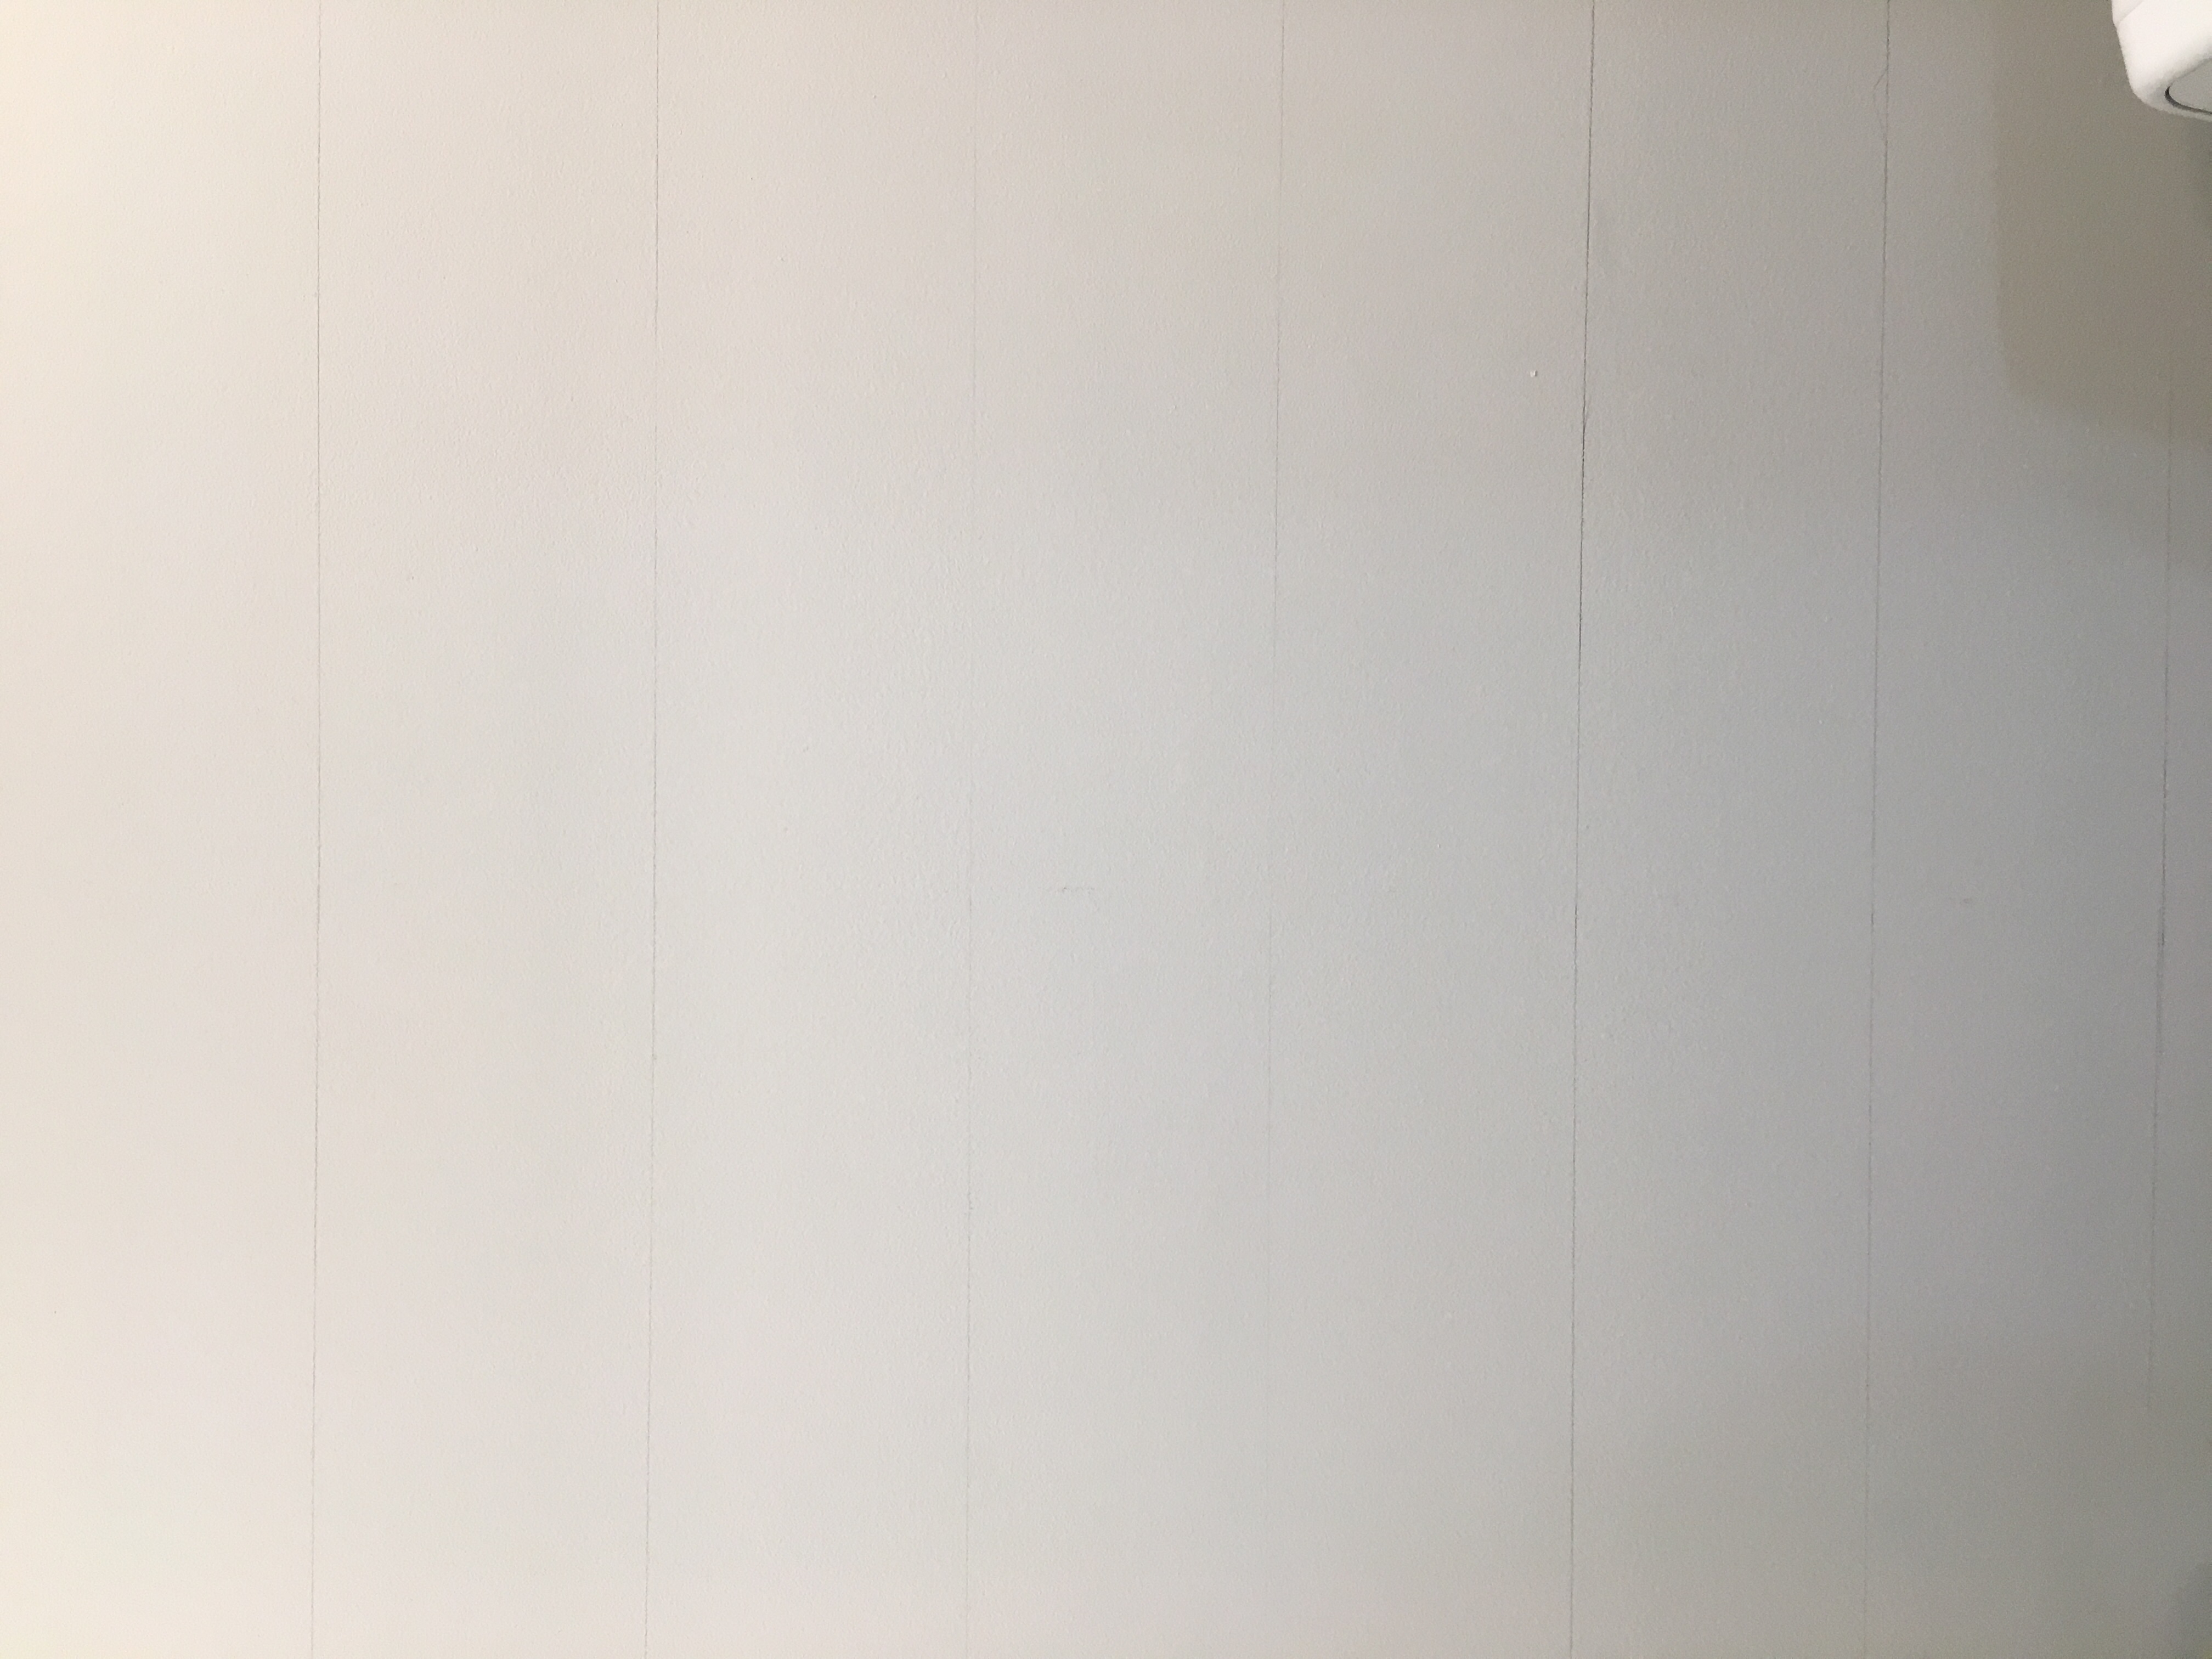
Before I got started I first decided to paint the wall white, it had been gray. I thought this would achieve a more realistic ‘shiplap’ look. The paint color I used was called Alabaster by Sherwin Williams.
Alright, lets get down to the nitty gritty…
STEP ONE
After I had finished painting the wall white and it was dry I used a pencil and my level to start making lines. I started from the top and worked my way down. Because I wanted a larger board look, I spaced my lines 6 inches apart. I went down the wall making small dashes to signify 6 inches.
STEP TWO
Next, I used my level and a pencil to make a straight lines across the wall. Do not skip this step, its very helpful to have the lines already drawn with a pencil before using your sharpie pen. Also, I simply used the level to assure the lines were straight.
STEP THREE
Here comes the fun part. Use your yardstick now and your sharpie paint pen to draw your black lines over the pencil lines. When you’re doing this I would recommend shaking your pen throughout to ensure enough paint will come off when you’re doing your lines. Because you may mess up, I would highly recommend having a wet washcloth next to you. It is fairly easy to erase if you do so immediately after you’ve made the mistake.
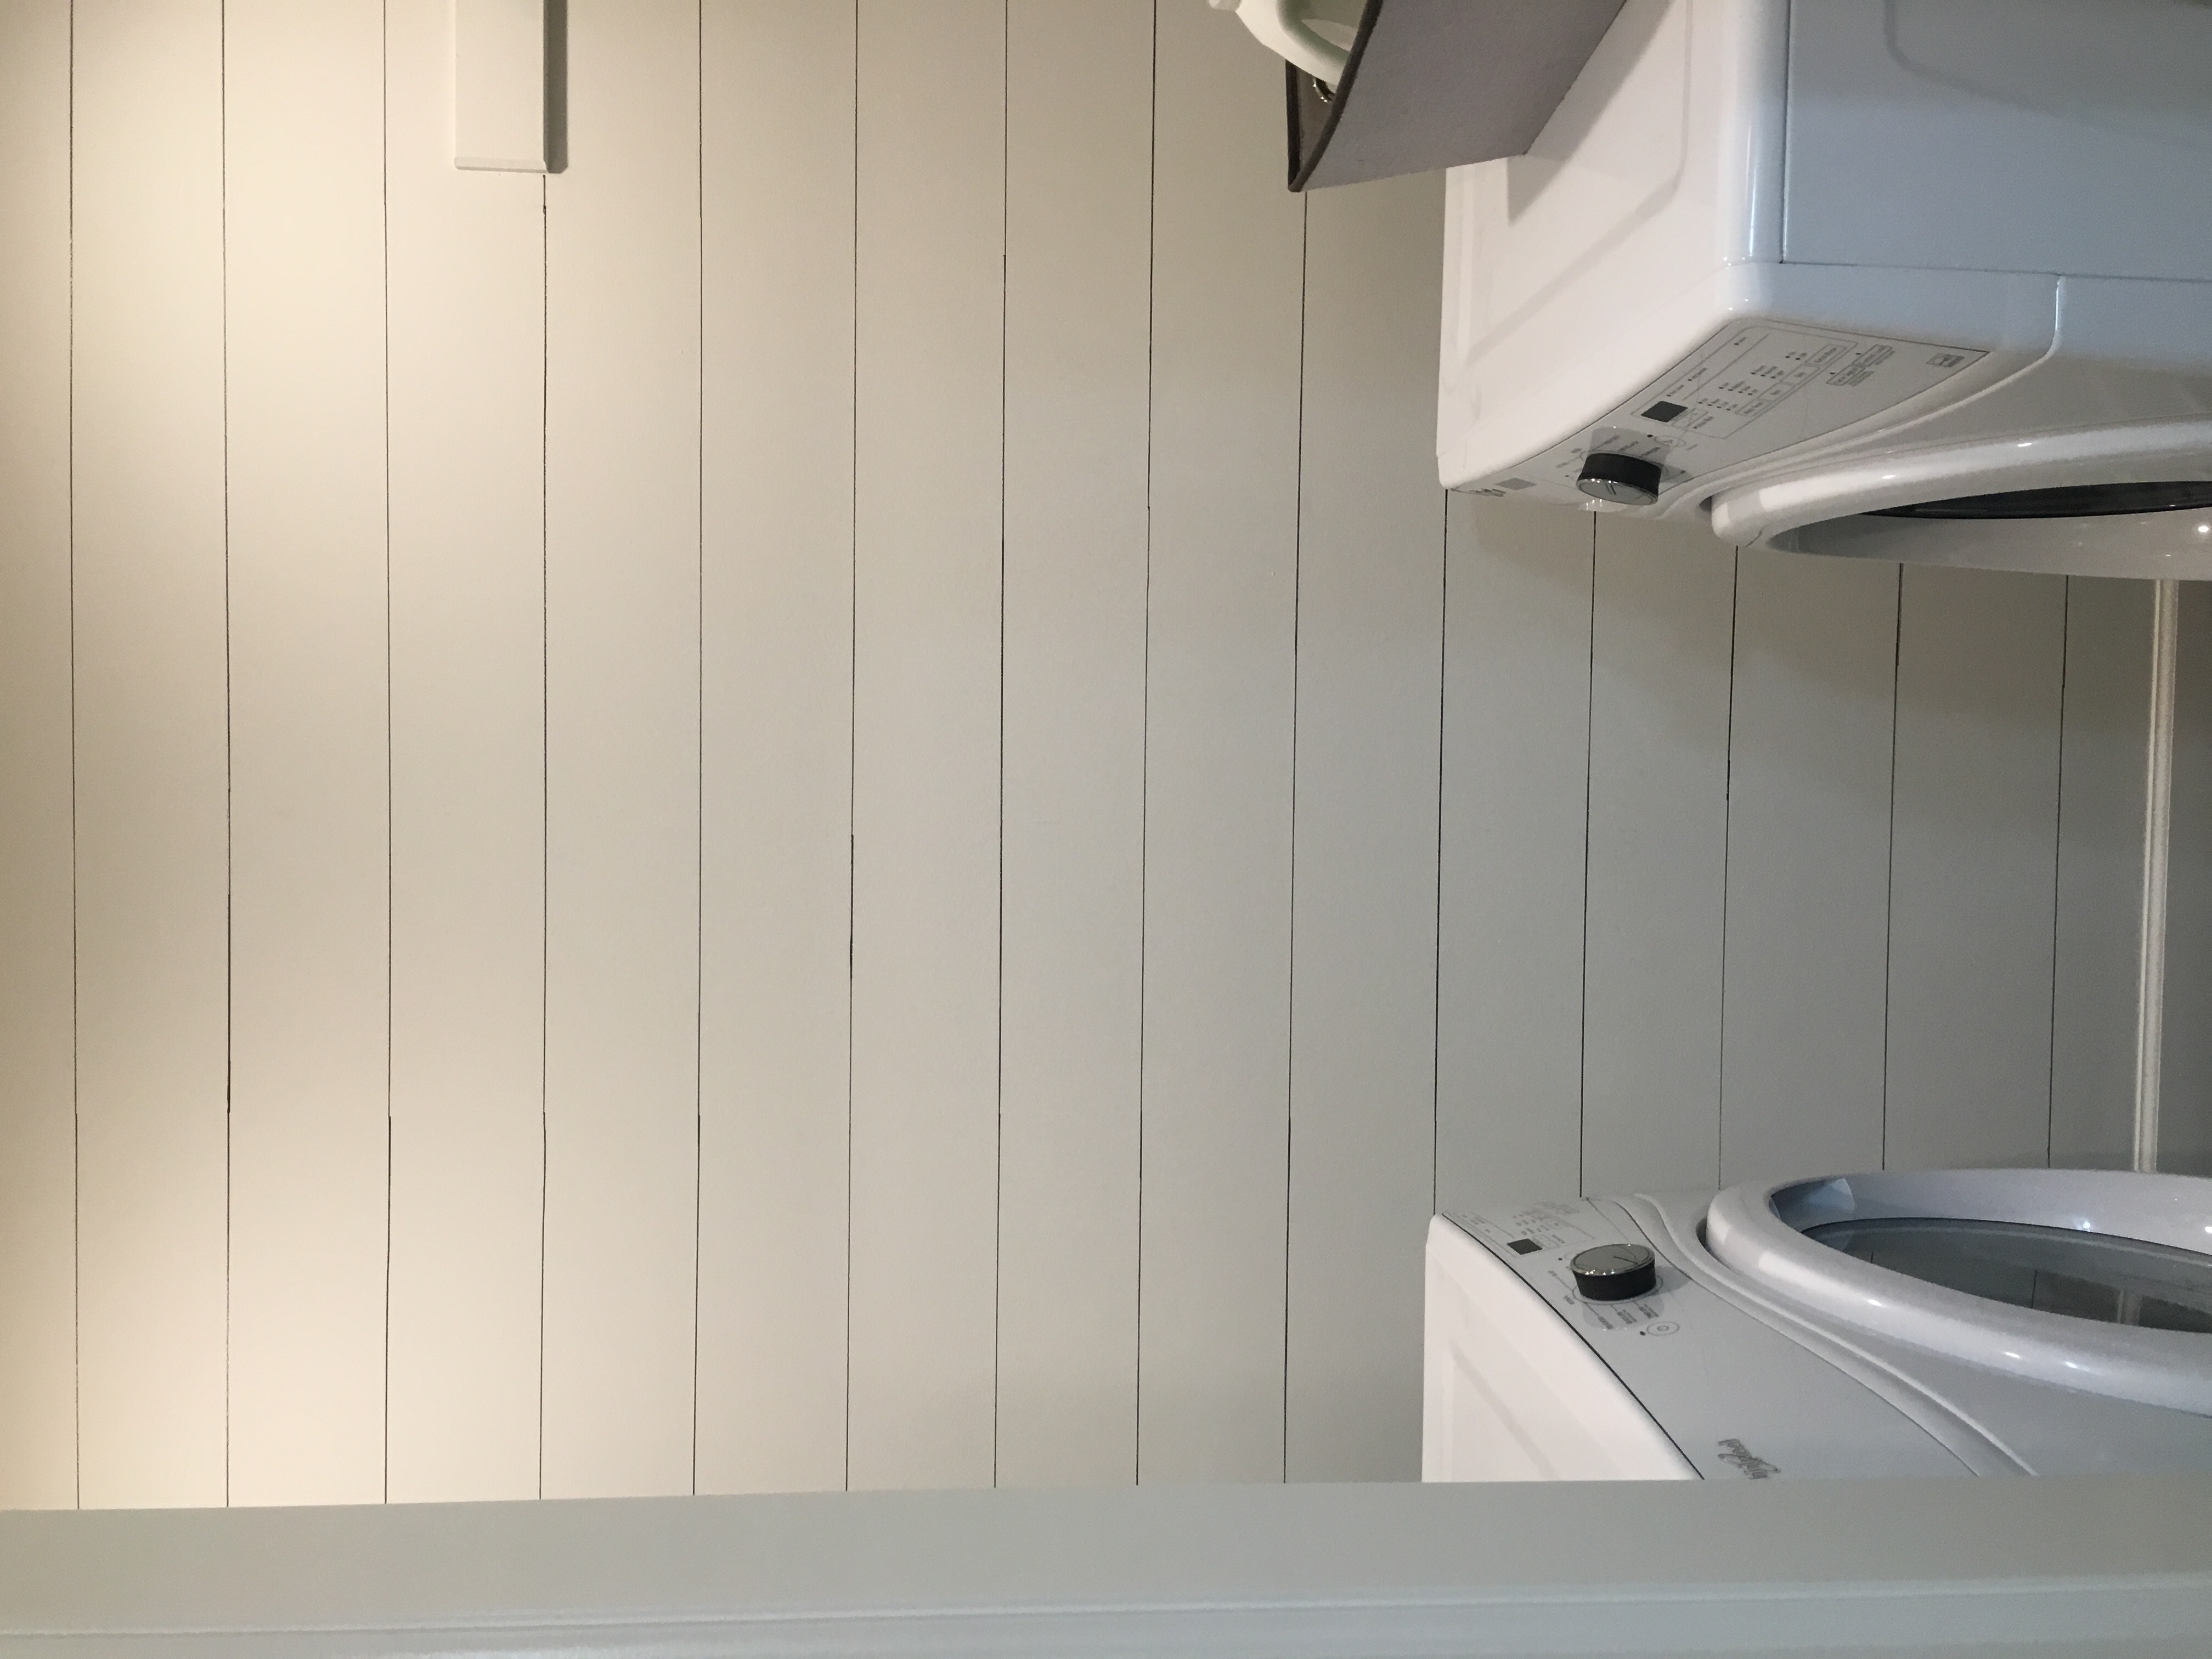
AND THAT’S LITERALLY IT 😀 You have officially created sharpie shiplap! Woot, Woot!
I hope this was helpful and you love how your project turns out 🙂
Happy Shiplaping!!
Holly